Bolt loses connection to Netlify when duplicating projects
If you fork or duplicate your project, you’ll need to reconnect to Netlify. To do so, follow the steps in the Netlify integration guide. Doing this will create a new Netlify site, so you’ll need to make sure your custom domains are pointed to the new site:- If you bought your domain through Netlify and you’re using Netlify DNS, you can remove the domain from the old site and add it to the new one, all in Netlify. This Netlify support answer provides more information.
- If you use another domain provider, look for their guide to updating domains.
”Another project is already using this domain” error
If you see this error, it usually means the domain is still connected to a previous deployment on another hosting service. This happens when the domain was not fully removed from that service’s domain management settings.Domains originally purchased through Netlify
Typically, Netlify lets you disconnect a domain from your project when this issue occurs. However, in some situations, due to an underlying communications issue between Bolt and Netlify, doing this manually isn’t enough to solve the problem. If you registered your domain with Netlify, removed it from your Netlify projects, and Bolt still shows an error message, contact Netlify support. They will be able to make changes to the domain settings so that it can be used with Bolt.Domains originally purchased through any other provider
If you see the “another project is already using this domain” error with a provider other than Netlify, follow these steps to resolve the issue:- Log in to the hosting service where the domain was previously connected (for example, Netlify).
- Go to the domain management settings.
- Check if your domain is still listed or connected to any old projects.
- Remove the domain if it is still connected.
- Return to your Bolt dashboard and try connecting the domain again.
Bolt failed to publish to Netlify
If Bolt fails to publish, you have the option of publishing manually to Netlify:- Run the project build command (usually
npm run build). - Click Download to download the project.
- Follow Netlify’s Manual deploy instructions.
Note that Bolt calls this feature Publish, whereas Netlify calls it Deploy.
GitHub authentication issues
Sometimes, GitHub authentication conflicts can occur if you’ve connected the same GitHub account to more than one Bolt account. This usually happens when:- You originally signed up for Bolt using your GitHub account.
- Later, you created a new Bolt account and tried to connect that same GitHub account through the GitHub integration.
Create a new login method for your original Bolt account
-
In your first Bolt account (the one you signed up for using GitHub), reset your password using the email address associated with your GitHub account.
This adds an email and password login option to that account.
- Log out once the reset is complete.
Remove GitHub authentication from the old account
- Log back in to the original account using your new email and password credentials.
- Click Settings in the left menu.
- Click the Credentials tab.
- Under GitHub, click Delete to remove GitHub as an authentication method.
Supabase row-level security rules aren’t working
If your Supabase row-level security (RLS) rules aren’t behaving as expected (such as returning no data, exposing too much data, or causing authorization errors), it’s often due to a misconfigured policy or a mismatch between your schema and the rule conditions. You can resolve this by resetting your RLS configuration and reapplying the correct rule through Bolt. To do so, follow these steps:- In the chatbox, prompt Bolt to remove all existing row-level security rules from the affected Supabase table. This clears out any incorrect or conflicting policies.
- Once the rules are removed, prompt Bolt to add back the relevant row-level security rule. Be specific about the intended behavior (for example, “only allow users to view rows where user_id matches their authenticated ID”).
- After the new rule is applied, test your queries or endpoints again to confirm the policy is now enforced correctly.
Supabase edge functions
Supabase Edge Functions act as the central bridge between your application, external services, and your database. Edge functions can connect your project with services like OpenAI, Notion, Stripe, or GitHub. Each connection type introduces its own potential issues, shown at the interaction points in the diagram:- CORS errors may occur when a web browser tries to call an edge function from a domain that isn’t permitted in your CORS configuration.
- Authorization header or JWT issues happen when external services like Stripe or GitHub send webhook requests that do not include a JSON Web Token. In these cases, JWT verification must be disabled, and other validation methods should be added instead.
- Missing secrets can arise when an edge function attempts to connect to an external API, such as OpenAI, without including the required authentication key or environment variable.
CORS (cross-origin resource sharing) errors
If your edge function isn’t working, it may be due to a CORS error. To check this:-
Open Chrome DevTools: press
Command + Option + Jon Mac,Control + Shift + Jon Windows or Linux. - Check the Network tab. Look for errors related to CORS.
-
Next, check if CORS headers are set correctly in the file responsible for your edge function. Here are the CORS headers for a chatbot built with Bolt using OpenAI:
Missing secret
If your Supabase edge function fails to connect to a service like OpenAI, it’s often because a required API key or secret is missing from your Supabase project. You’ll need to add the secret in Supabase first, then let Bolt know about the update so it can continue development correctly.Add the secret in Supabase
- In your Supabase project, hover over the left-hand side of the page to open the main menu.
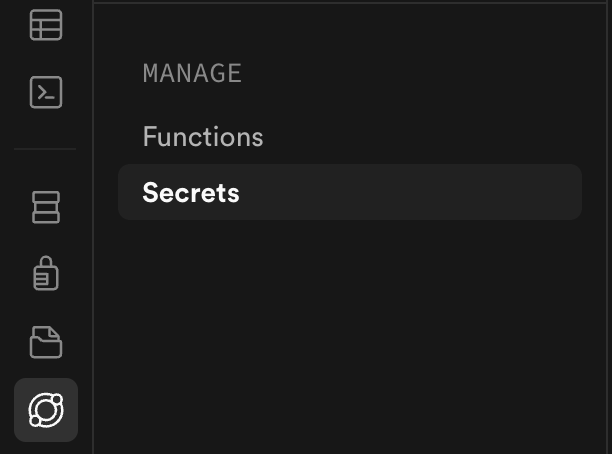
- Select Edge Functions > Secrets.
-
Click Add secret and enter the required key–value pair.
For example, to connect to OpenAI, add a secret named
OPENAI_API_KEYand paste in your API key.
- Save the change.
This step securely stores your secret within Supabase so your edge functions can access it when running.
Update Bolt
After you’ve added or updated the secret in Supabase, prompt Bolt to refresh its connection. You can do this by telling Bolt that you’ve added a new secret, so it can recognize the change and continue development or testing.This ensures Bolt uses the most up-to-date configuration from your Supabase environment.
Webhooks: authorization headers and JWT
When a webhook in your project is triggered by a third-party service (such as GitHub, Slack, or Stripe), the request will come from outside your application’s authentication system. This means it will not include a valid JSON Web Token (JWT). By default, Supabase edge functions expect authenticated requests. If JWT verification remains enabled, your webhook calls from external services will fail with an authorization error. How to handle this correctly:- Disable JWT verification for the edge function that receives the webhook.
This allows the function to accept incoming requests from third-party services that don’t use your app’s authentication.
- Add custom validation and authorization logic inside your edge function to ensure requests are legitimate. For example:
- Validate a secret or signature header provided by the third-party service.
- Confirm the request source matches the expected domain or IP range.
Branding doesn’t show on the Google OAuth consent screen
If your app name or logo isn’t appearing on the Google sign-in screen, the issue is usually in your Google Cloud Console branding configuration rather than in Bolt. To check, sign in to Google Cloud Console and go to Google Auth Platform > Branding. The most common causes are:- Your branding hasn’t been verified. Google requires verification before your app name and logo appear on the consent screen. If you haven’t submitted for verification yet, click Verify branding.
- Your branding hasn’t been published. Verification and publishing are separate steps. After verification is complete, click Publish branding to make your changes live.
- Your Google OAuth app is in Testing mode. Even with verified and published branding, your app name and logo won’t appear if your publishing status is set to Testing. To fix this, go to Google Auth Platform > Audience and publish your app.