Create a new team
To create a new team:-
On the Bolt homepage, hover over the left-side menu and click Select Account, then Create a team.

-
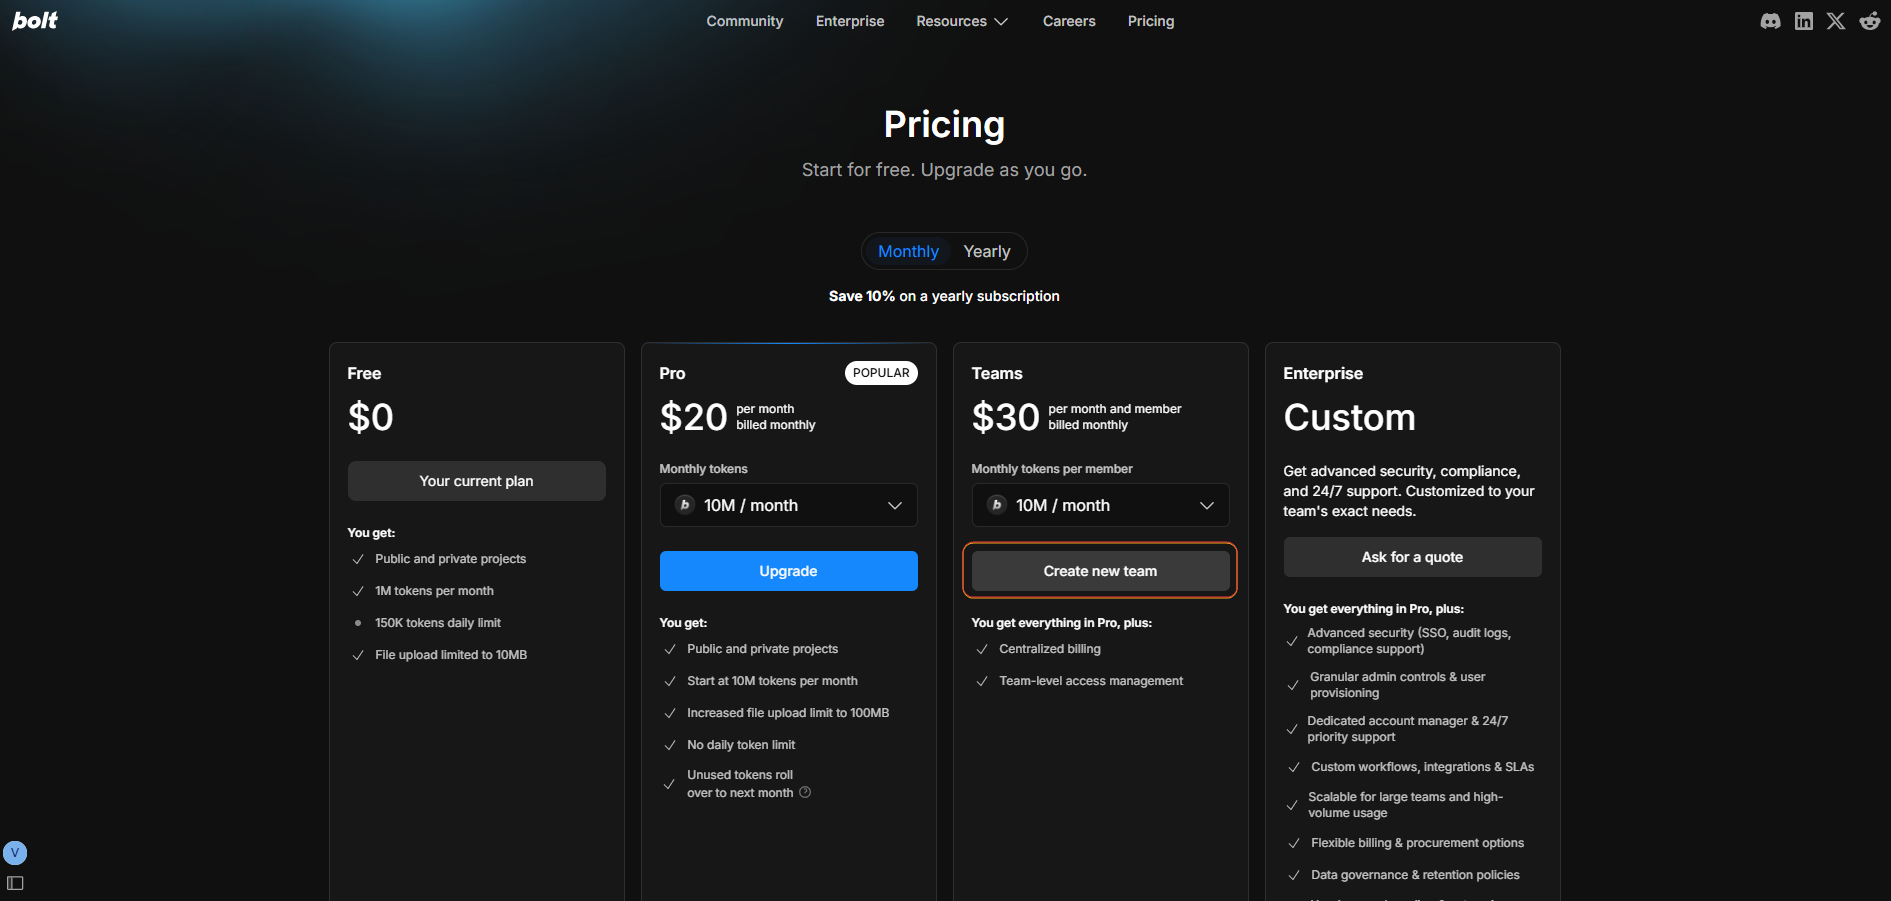
You can also create a team from the Pricing page. Under the Teams plan, click Create new team.

-
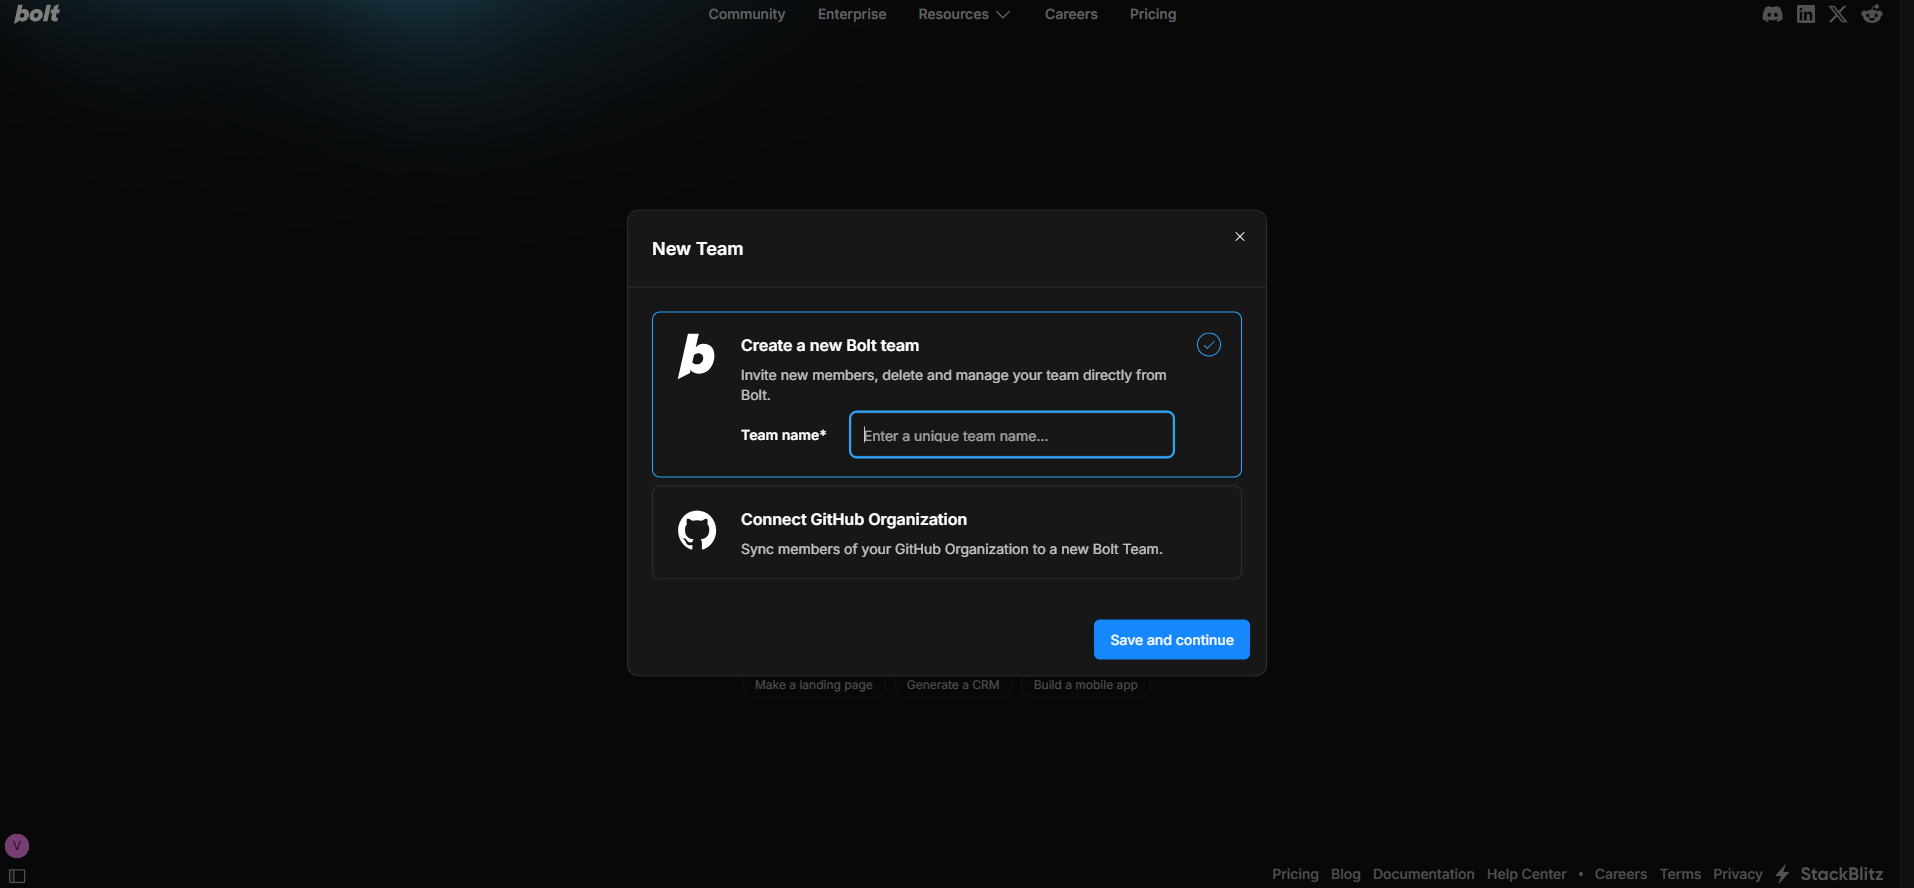
Now, the Create a team dialog opens. Choose whether to create a standalone team or connect your GitHub organization. Using a GitHub organization automatically syncs members.
- For a standalone team:
- Enter the slug for your team. This forms part of the team’s projects URL.
- Click Save and continue.
- On the next screen, enter the email address or Bolt username to add members.
- Click Send invite.
- For a standalone team:
-
If you prefer to connect your GitHub organization and sync members:
- Click Add GitHub Organization.
- Click Authenticate with GitHub. Follow the GitHub authentication flow.
- Click Upgrade team. If your team doesn’t have any members, you need to add at least one.
- Finalize the payment process.
Only the team admin can create a team and invite members.
Add and upgrade team members
To add a team member:- Log in to your Teams account and open the Bolt homepage.
- Hover over the left side of your screen, then click My Subscription.
- Click Team in the left menu.
- Under the Members section, enter the username or email of the person you wish to invite to your team.
- Choose their role: member, admin, or billing admin.
- Click Send invite to invite members.
- Click the Upgrade button next to the user’s details.
- Alternatively, if you want to upgrade multiple users, select them by clicking the checkbox on the left side. At the top of the Members page, change their role, click the three-dot menu on the right > click Upgrade to paid button.
- Finalize the payment process.
Reusing seats on annual plans
Annual Teams plans include a helpful safeguard that prevents your subscription from growing when it doesn’t need to. If a team member was downgraded more than one month ago, their paid seat becomes eligible for reuse. When you upgrade another member later on, Bolt will automatically reuse that older seat instead of adding a new one to your subscription. Example Imagine your team has a yearly plan with 5 seats and 10 total members:- 3 active paid members
- 1 member downgraded two months ago
- 1 member downgraded two days ago
- 5 free members
- Without seat reuse: Your plan would increase by 2 seats, bringing your total to 7. It would return to 5 when your billing year ends.
-
With seat reuse: Bolt reuses the seat from the member downgraded two months ago. Your plan increases by only 1 seat, bringing your total to 6 until the billing year ends.
You can also choose to wait until the second member’s one-month period has passed. Once it does, you’ll be able to upgrade both members without increasing your total number of seats.
Share team projects
When a team member creates a project in a team, the project is accessible to all team members by default (even if the project is set as private), but it isn’t automatically visible. Sharing the project URL with team members allows them to open the project in their accounts. Changes made by different team members are automatically synced across accounts.Find your Bolt projects
Both your personal and team projects are under your Bolt collection:https://stackblitz.com/@USERNAME/collections/bolt
Configure project access
Admins can configure default project access for all team projects in StackBlitz:- If it’s a GitHub team:
https://stackblitz.com/orgs/github/TEAM_NAME/project_settings - If it’s a StackBlitz team:
https://stackblitz.com/orgs/custom/TEAM_NAME/project_settings
Export team usage data
You can download a customized CSV file with detailed information about your team’s plan usage from the Team settings screen. Choose a time range from 30 days up to 2 years, and select whether to include the following metrics for each member:- Message count
- Tokens used
- Number of projects created per user.
- Log in to the Bolt homepage with your teams account.
- Hover over the left side of your screen, then click Settings.
- Click Team in the left menu.
- Click the gear icon in the top-right corner of the window.
- Scroll down, then click Configure export.
- Select your preferences.
- Click Generate and download CSV.
Delete a team and all projects
To delete your entire team and all of its projects, follow the steps below.- Log in to your Teams account and open the Bolt homepage.
- Hover over the left side of your screen, then click My Subscription.
- Click Team in the left menu.
- Click the gear icon in the top-right corner of the window.
- Scroll down and click Delete team.
- Enter your team name in the confirmation field, then click Delete now.