Team settings help team admins control how shared workspaces operate across Bolt. These settings shape what teammates can access, how projects are published, which integrations are allowed, and what rules Bolt follows when working with your code. Team settings create a consistent environment that supports collaboration and keeps projects aligned with internal practices.Documentation Index
Fetch the complete documentation index at: https://support.bolt.new/llms.txt
Use this file to discover all available pages before exploring further.
Set the default member role
The Default member role setting controls the level of access team members have. Options are:- Viewer (default)
- Editor
- Co-owner
Allow members to invite external users to collaborate on projects
If you want to allow team members to invite users outside the team as collaborators, turn on this setting. This controls whether you can invite collaborators who have an email address outside your team.Set the default publishing provider
By default, team members can choose which publishing provider to use for their projects. Team admins can set a default provider — Bolt or Netlify — for all team projects.- Log in to your Teams account and open the Bolt homepage.
- In the sidebar, click your account name, then click Settings.
- Click Team under your team’s name.
- Click the gear icon in the top-right corner of the window.
- From the Team-wide deploy provider dropdown, select User Specified, Bolt Cloud, or Netlify.
When a default publishing provider is set, team members can’t choose between providers in their project’s Domains & Hosting settings. Instead, they see their default provider listed along with a note advising them to contact their admin to request a change.
Set published site visibility
By default, team members choose whether to publish their site as public or private. Team admins can override this and enforce a single visibility option for all team projects.
- Log in to your Teams account and open the Bolt homepage.
- Hover over the left side of your screen, then click Settings.
- Click Team under your team’s name.
- Click the gear icon in the top-right corner of the window.
- Under Published site visibility dropdown, select an option:
- User specified — Members choose visibility when publishing.
- Private only — All published sites are private.
- Public only — All published sites are public.
Share databases between team members
Sharing Bolt databases between team members isn’t currently supported.Enable or disable integrations
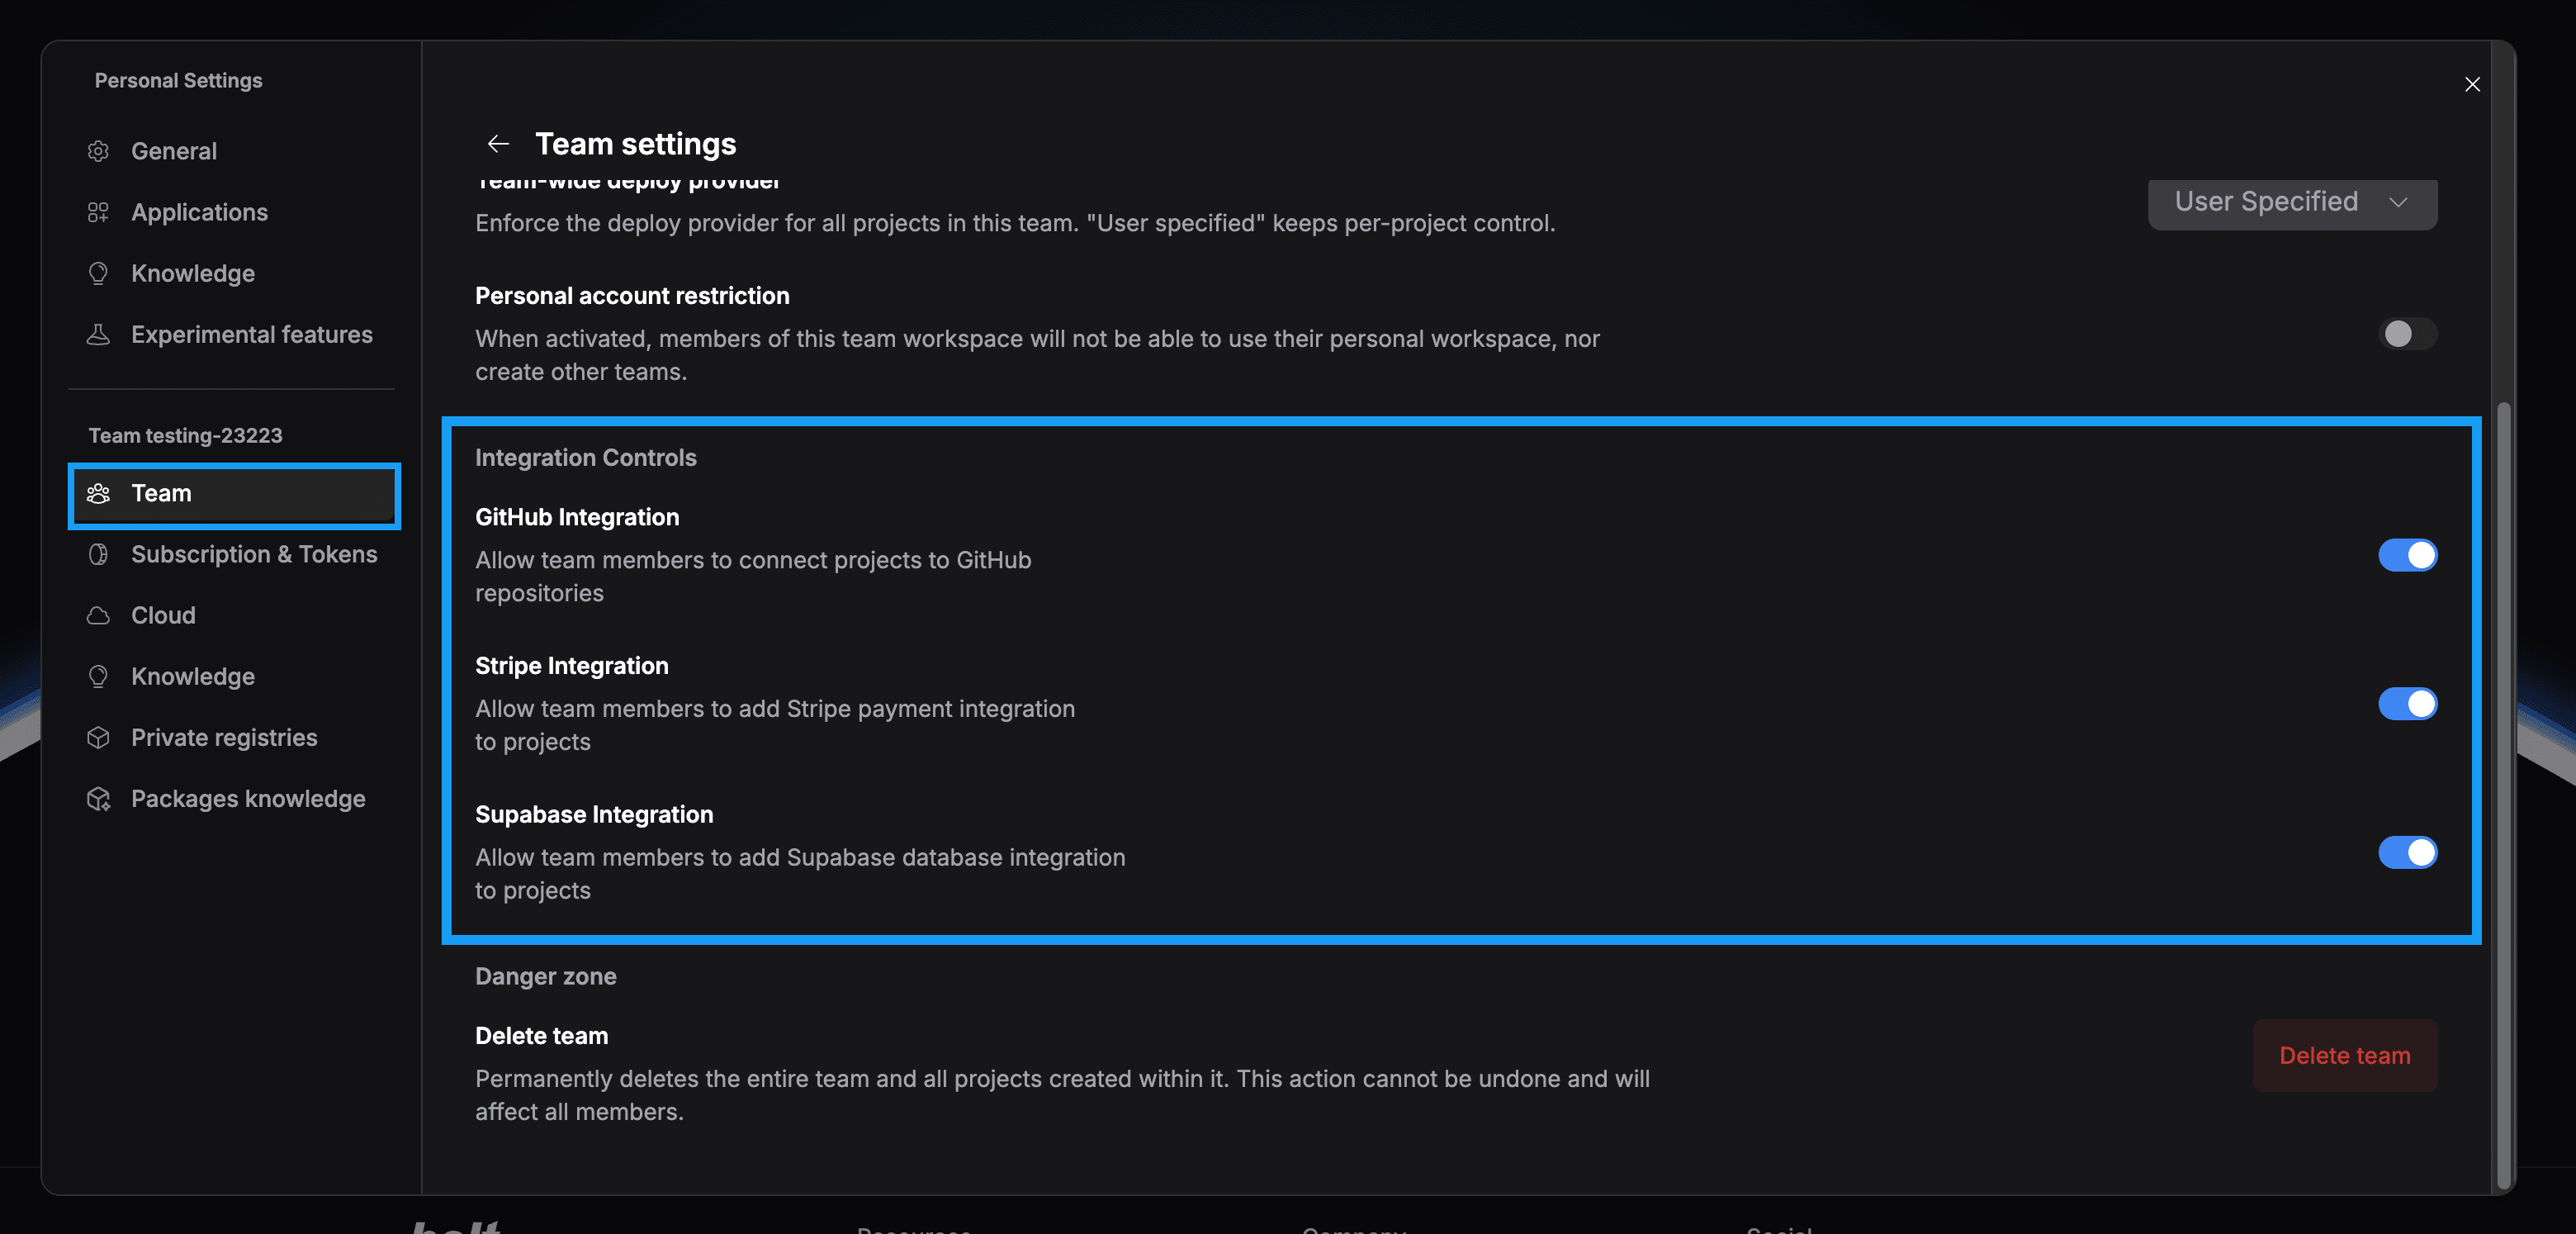
By default, team members can decide which integrations to use in their Bolt projects. If needed, team admins can limit or turn off access to specific third-party integrations for the entire team. To manage which integrations your team can use:- Log in to your Teams account and open the Bolt homepage.
- In the sidebar, click your account name, then click Settings.
- Click Team under your team’s name.
- Click the gear icon in the top-right corner of the window.
- Scroll down to the Integration Controls section, then use the toggles to turn on or turn off specific integrations.
Set a team prompt
A team prompt defines team-wide rules. You can use it to create a code of conduct and best practices.Only team admins can view or modify the team prompt.
- Log in to your Teams account and open the Bolt homepage.
- In the sidebar, click your account name, then click Settings.
- Click Knowledge under your team’s name.
-
Click Team prompt.
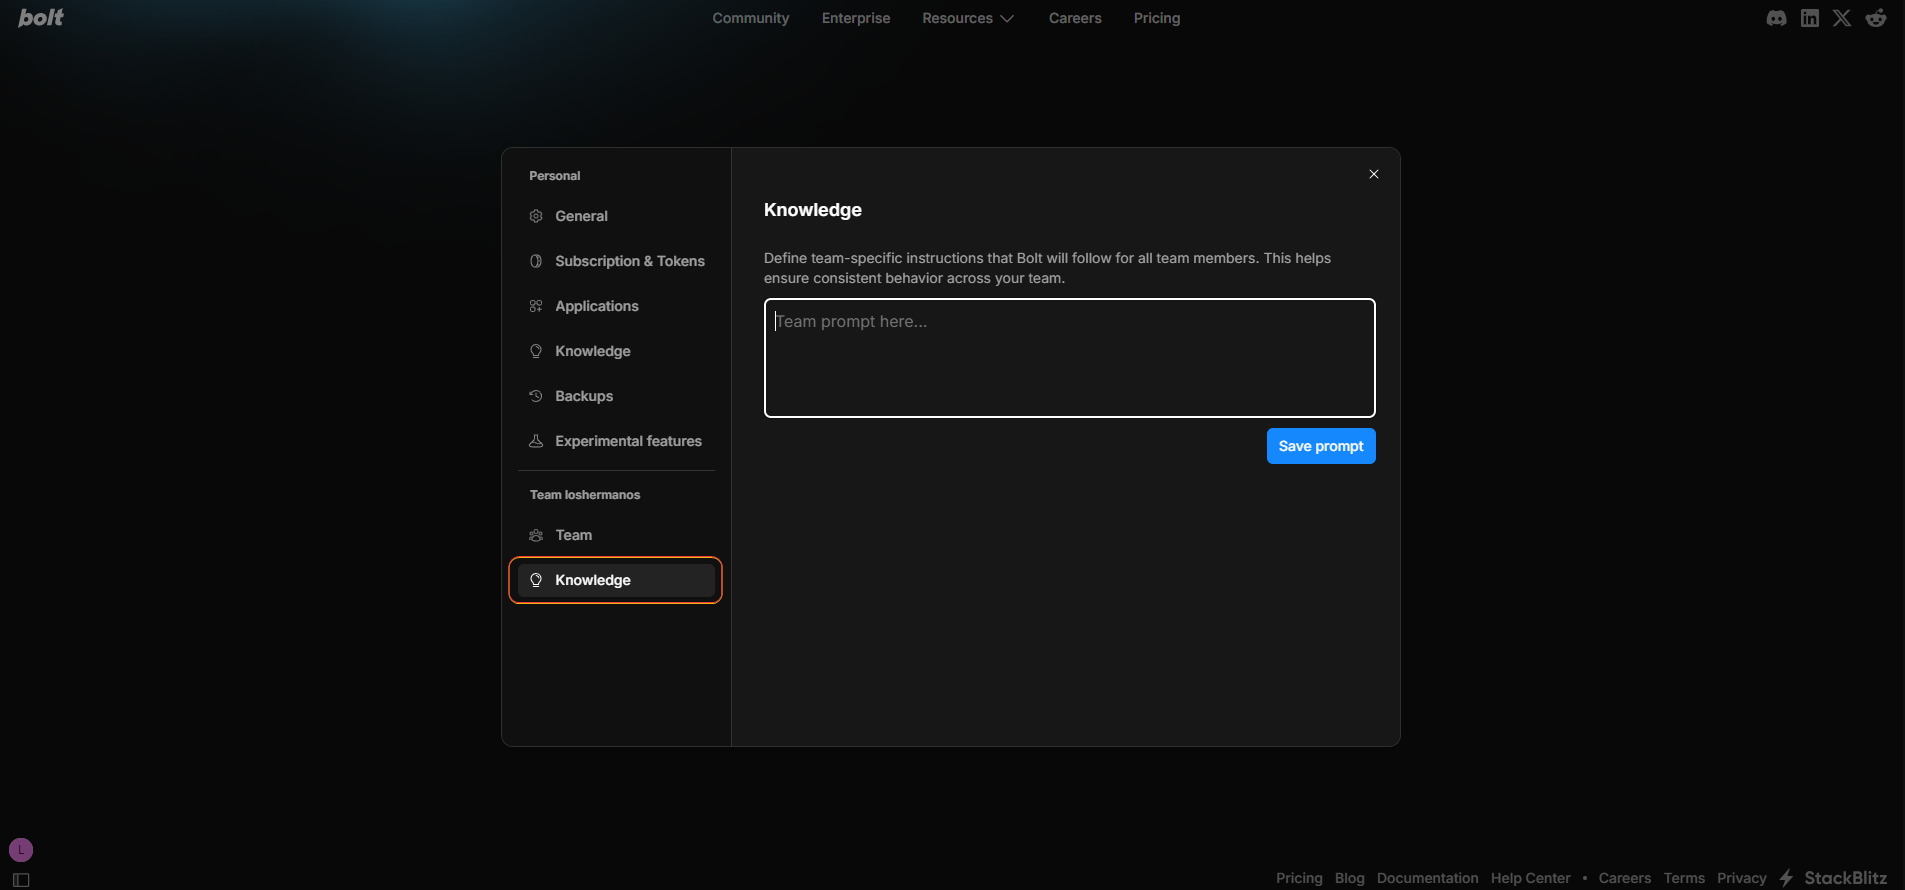
- Create a new team prompt or modify the existing one.
- Click Save prompt.
Your changes are discarded if you close the modal before clicking Save prompt.
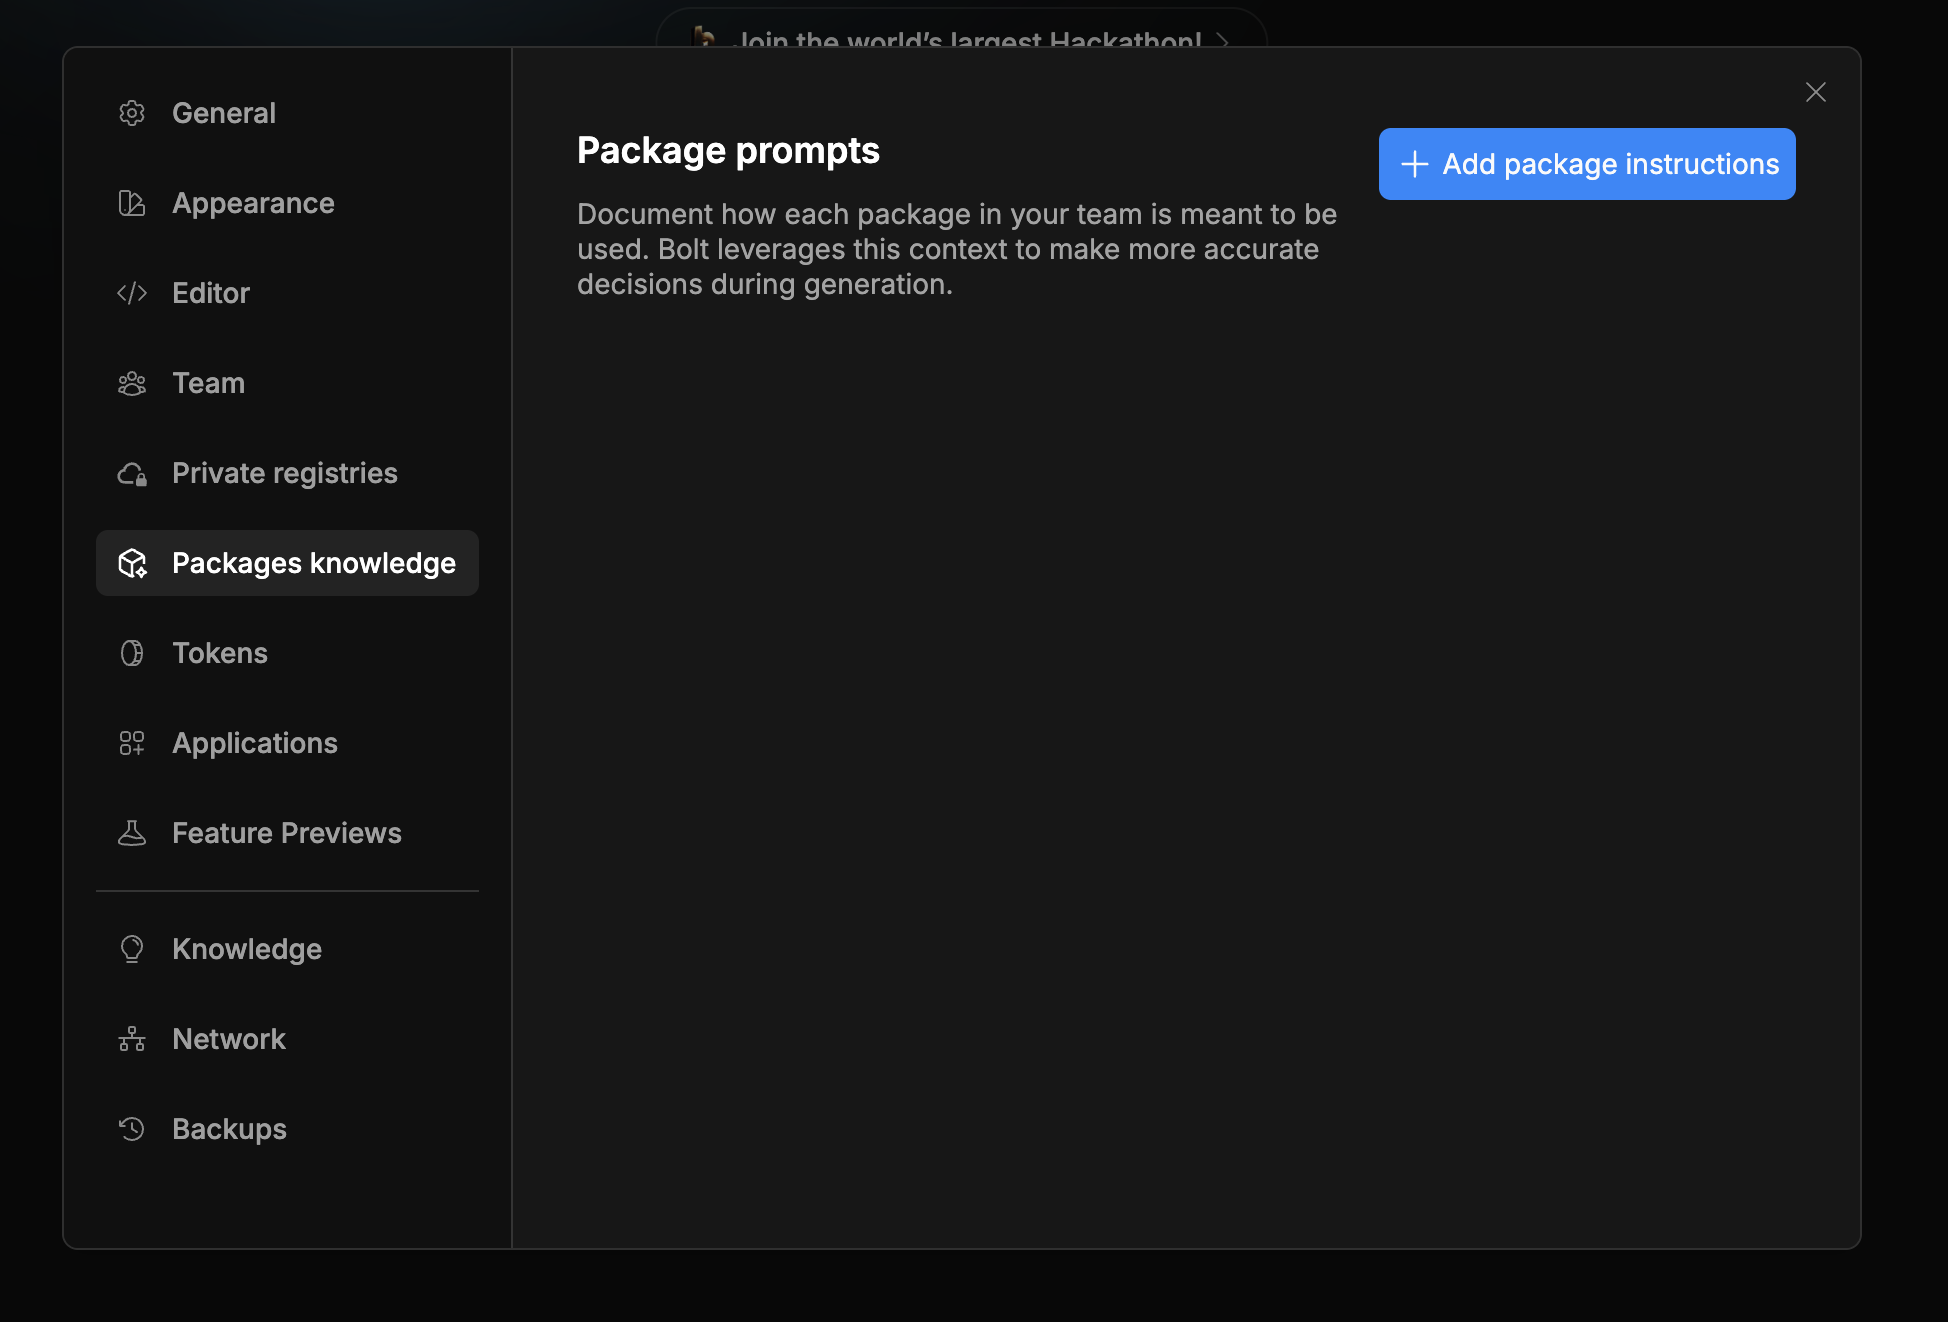
Add package prompts
Package prompts give Bolt additional context about the packages your team uses. They inform Bolt about internal libraries and help fill in knowledge gaps about third-party packages where Bolt may have limited information about the package or a specific version.Only team admins can view or modify package prompts.
- Log in and open the Bolt homepage.
- In the sidebar, click your account name, then click Settings.
- Click Packages knowledge under your team’s name.
-
Click + Add package instructions.
-
Enter the exact package name as it appears in package.json.
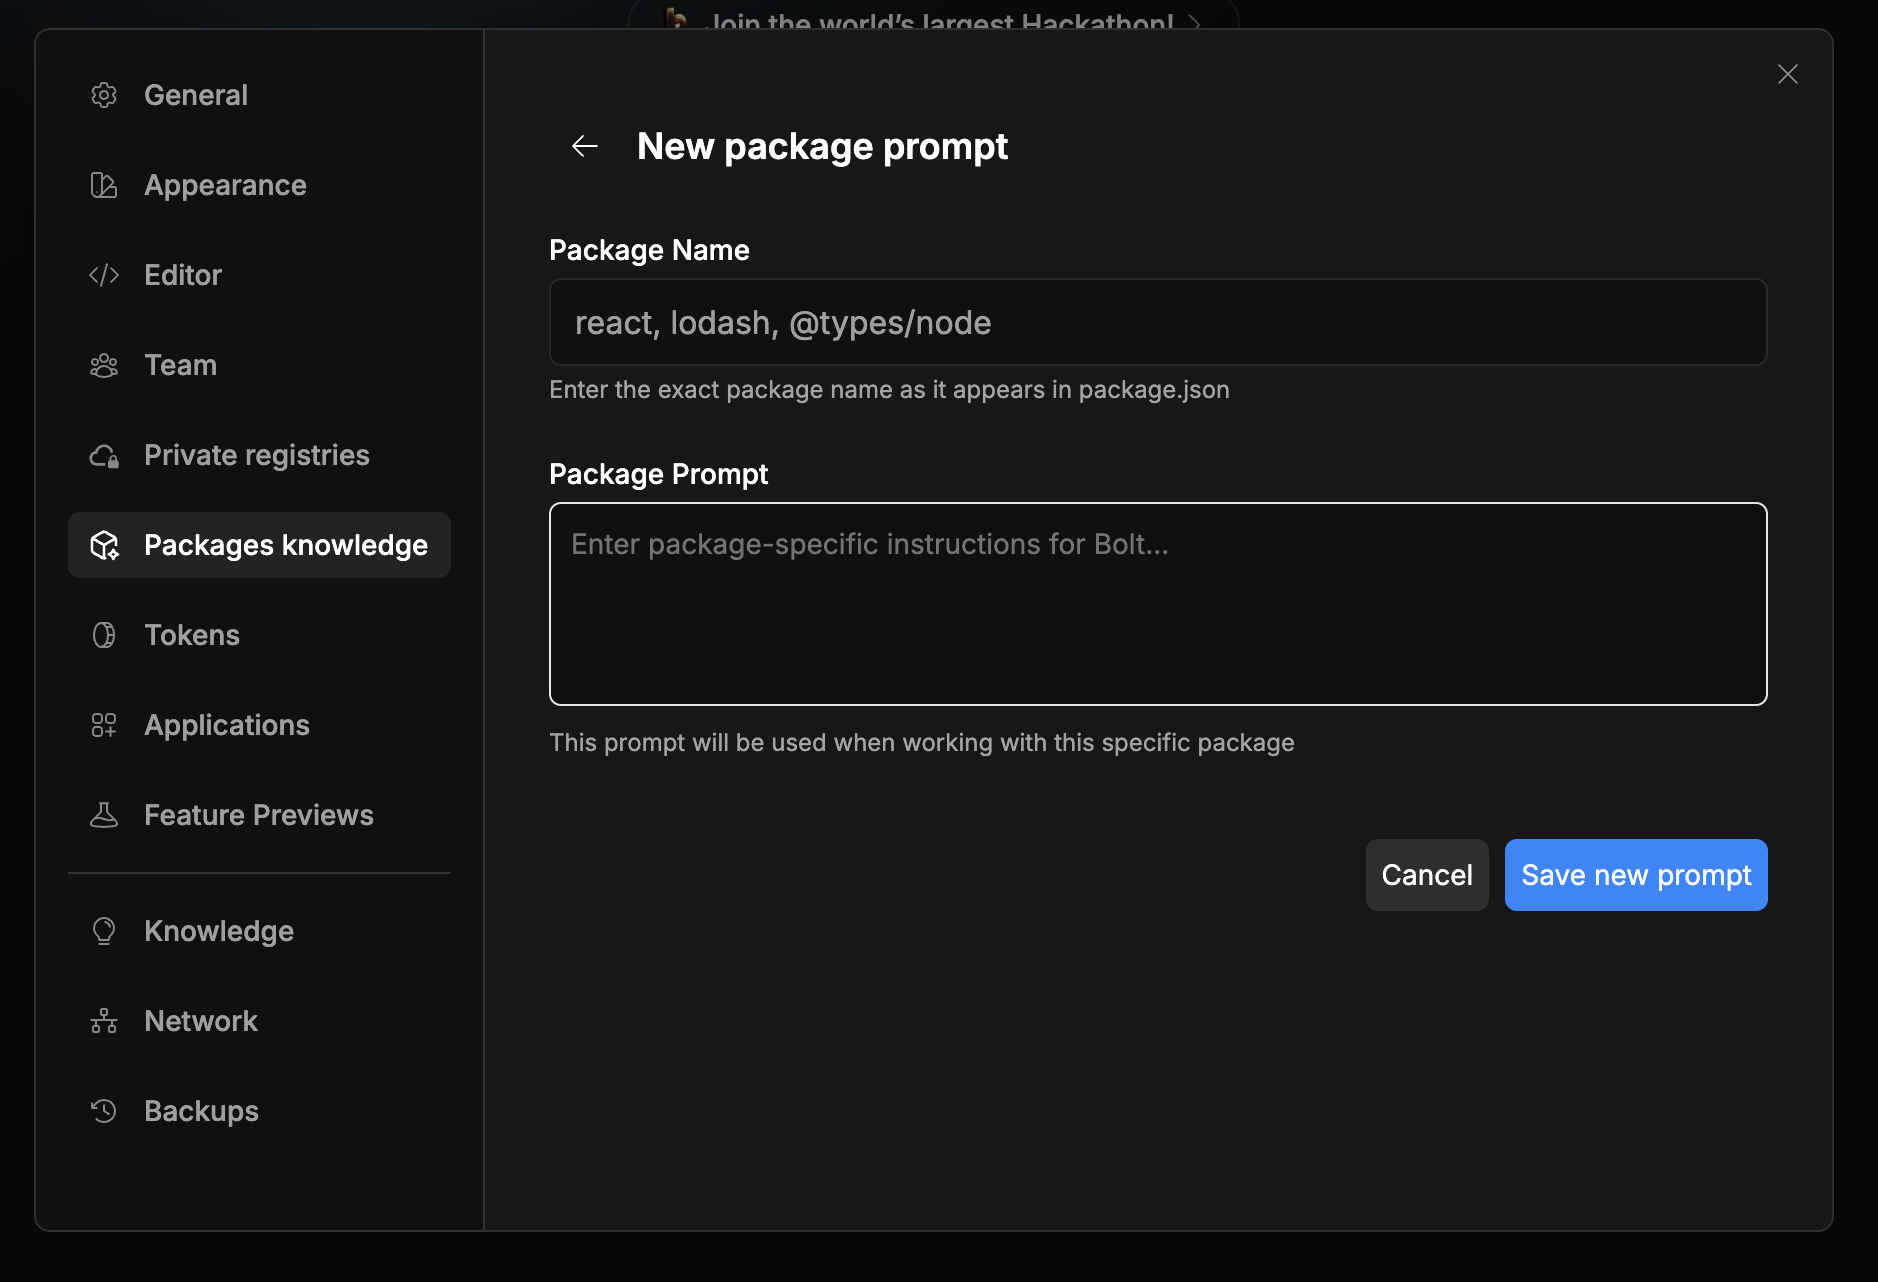
- Enter your prompt and save.
Connect private NPM registries
You can integrate Bolt with any private NPM registry that’s accessible from the internet without proxies or VPNs. To connect a registry to your Teams account:- Get the registry URL and access token from your provider. Check your provider’s documentation for specific steps.
- Log in and open the Bolt homepage.
- In the sidebar, click your account name, then click Settings.
-
Click private registries.
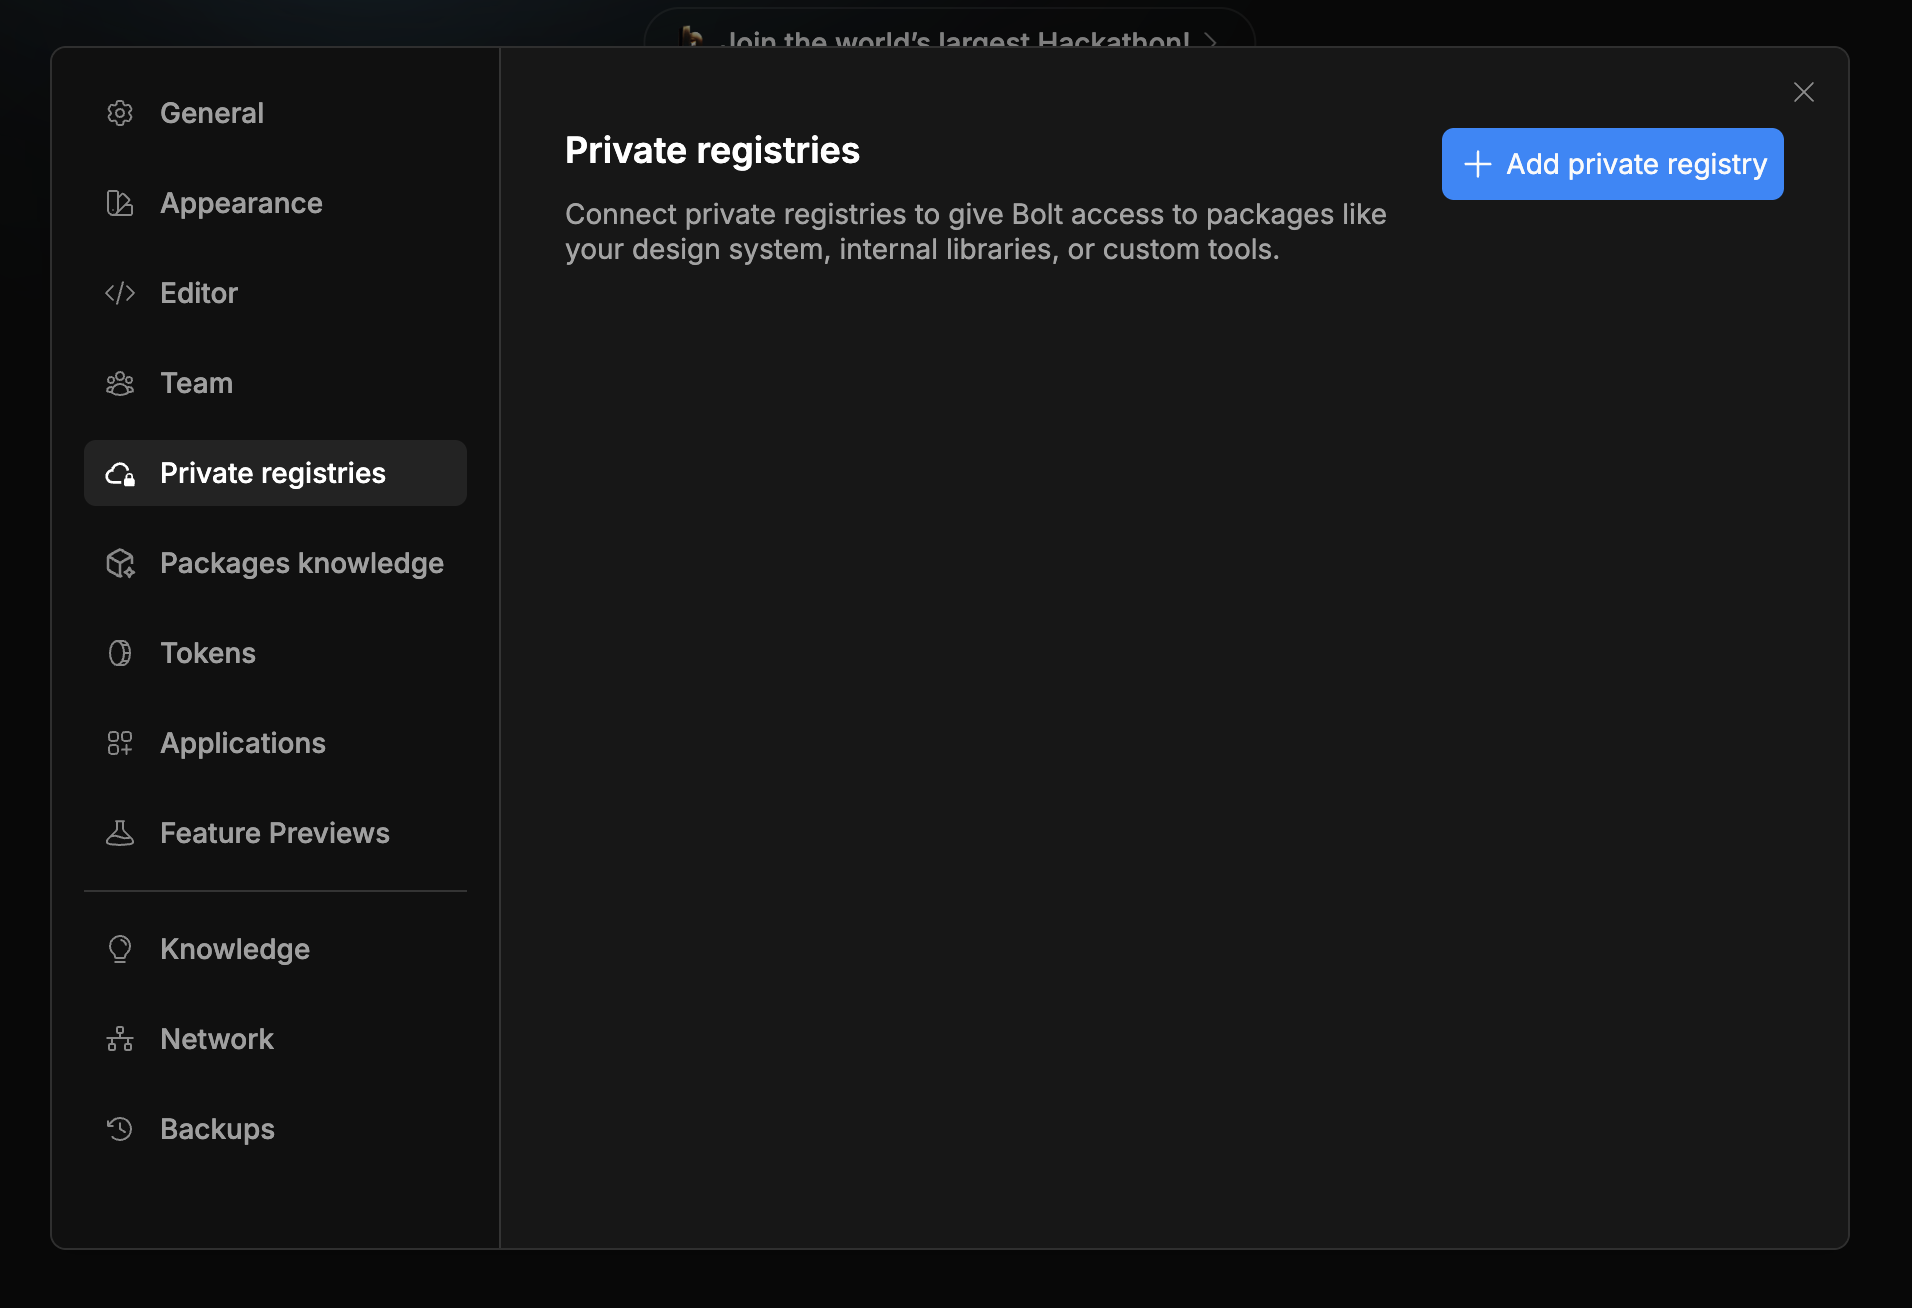
- Click Add private registry.
-
Fill in the URL, token, and optional scopes.
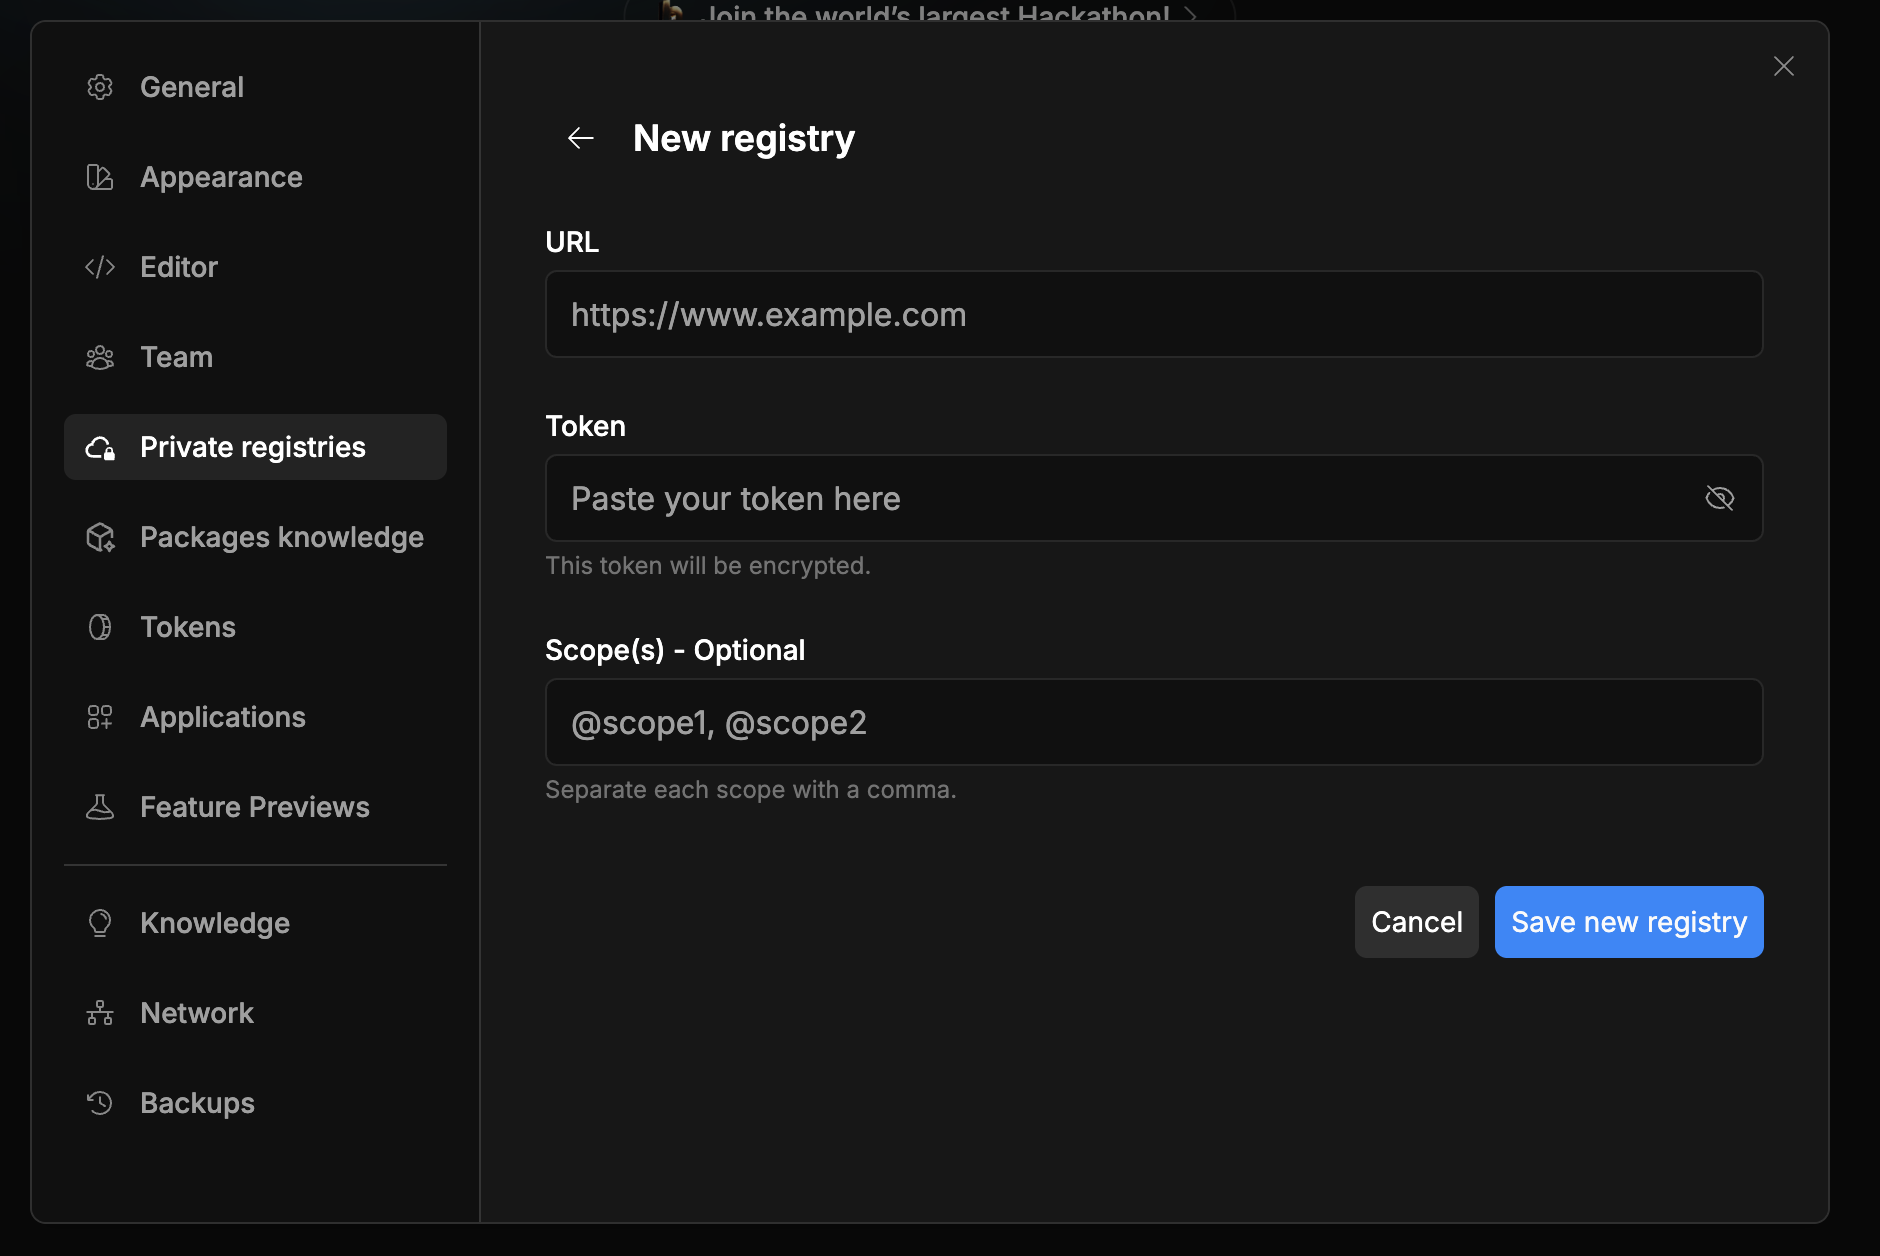
- Save the new registry.
Bolt keeps registry credentials secure in your account settings and doesn’t create or update an .npmrc file. Team members need to manage their .npmrc files for local development.
Copy personal projects to Teams
To duplicate a personal project into a Teams plan, follow these steps.Duplicating creates a copy of the project files. It doesn’t retain chat history or context.
- Log in to your Teams account on Bolt.
- Go to StackBlitz and open your Bolt collection page:
https://stackblitz.com/@USERNAME/collections/bolt. - Click the project you want to edit.
- Click Open in bolt.new | AI. When you send a new prompt, Bolt automatically forks the project to your team.