View your database tables
To open the Tables settings for your project’s database, follow these steps:- Log in to your Bolt project.
- Click the database icon in the top center of your screen. The database settings open to the Tables page by default.
Who can view and edit table data
The project owner can edit both the table and its data. If you’ve shared your project or are part of a team, permissions to view or edit tables depend on the person’s role:- Viewers can open tables, view policies, and run queries that only read data. They can’t add rows, or select rows to delete, export, or copy.
- Editors, Co-owners, and team Admins can add, edit, and delete rows, and run queries that change data.
Understanding the Tables interface
When you open Tables, you’ll see all of your database tables and the number of rows in each, as shown in the screenshot below. To create or change a table, ask Bolt.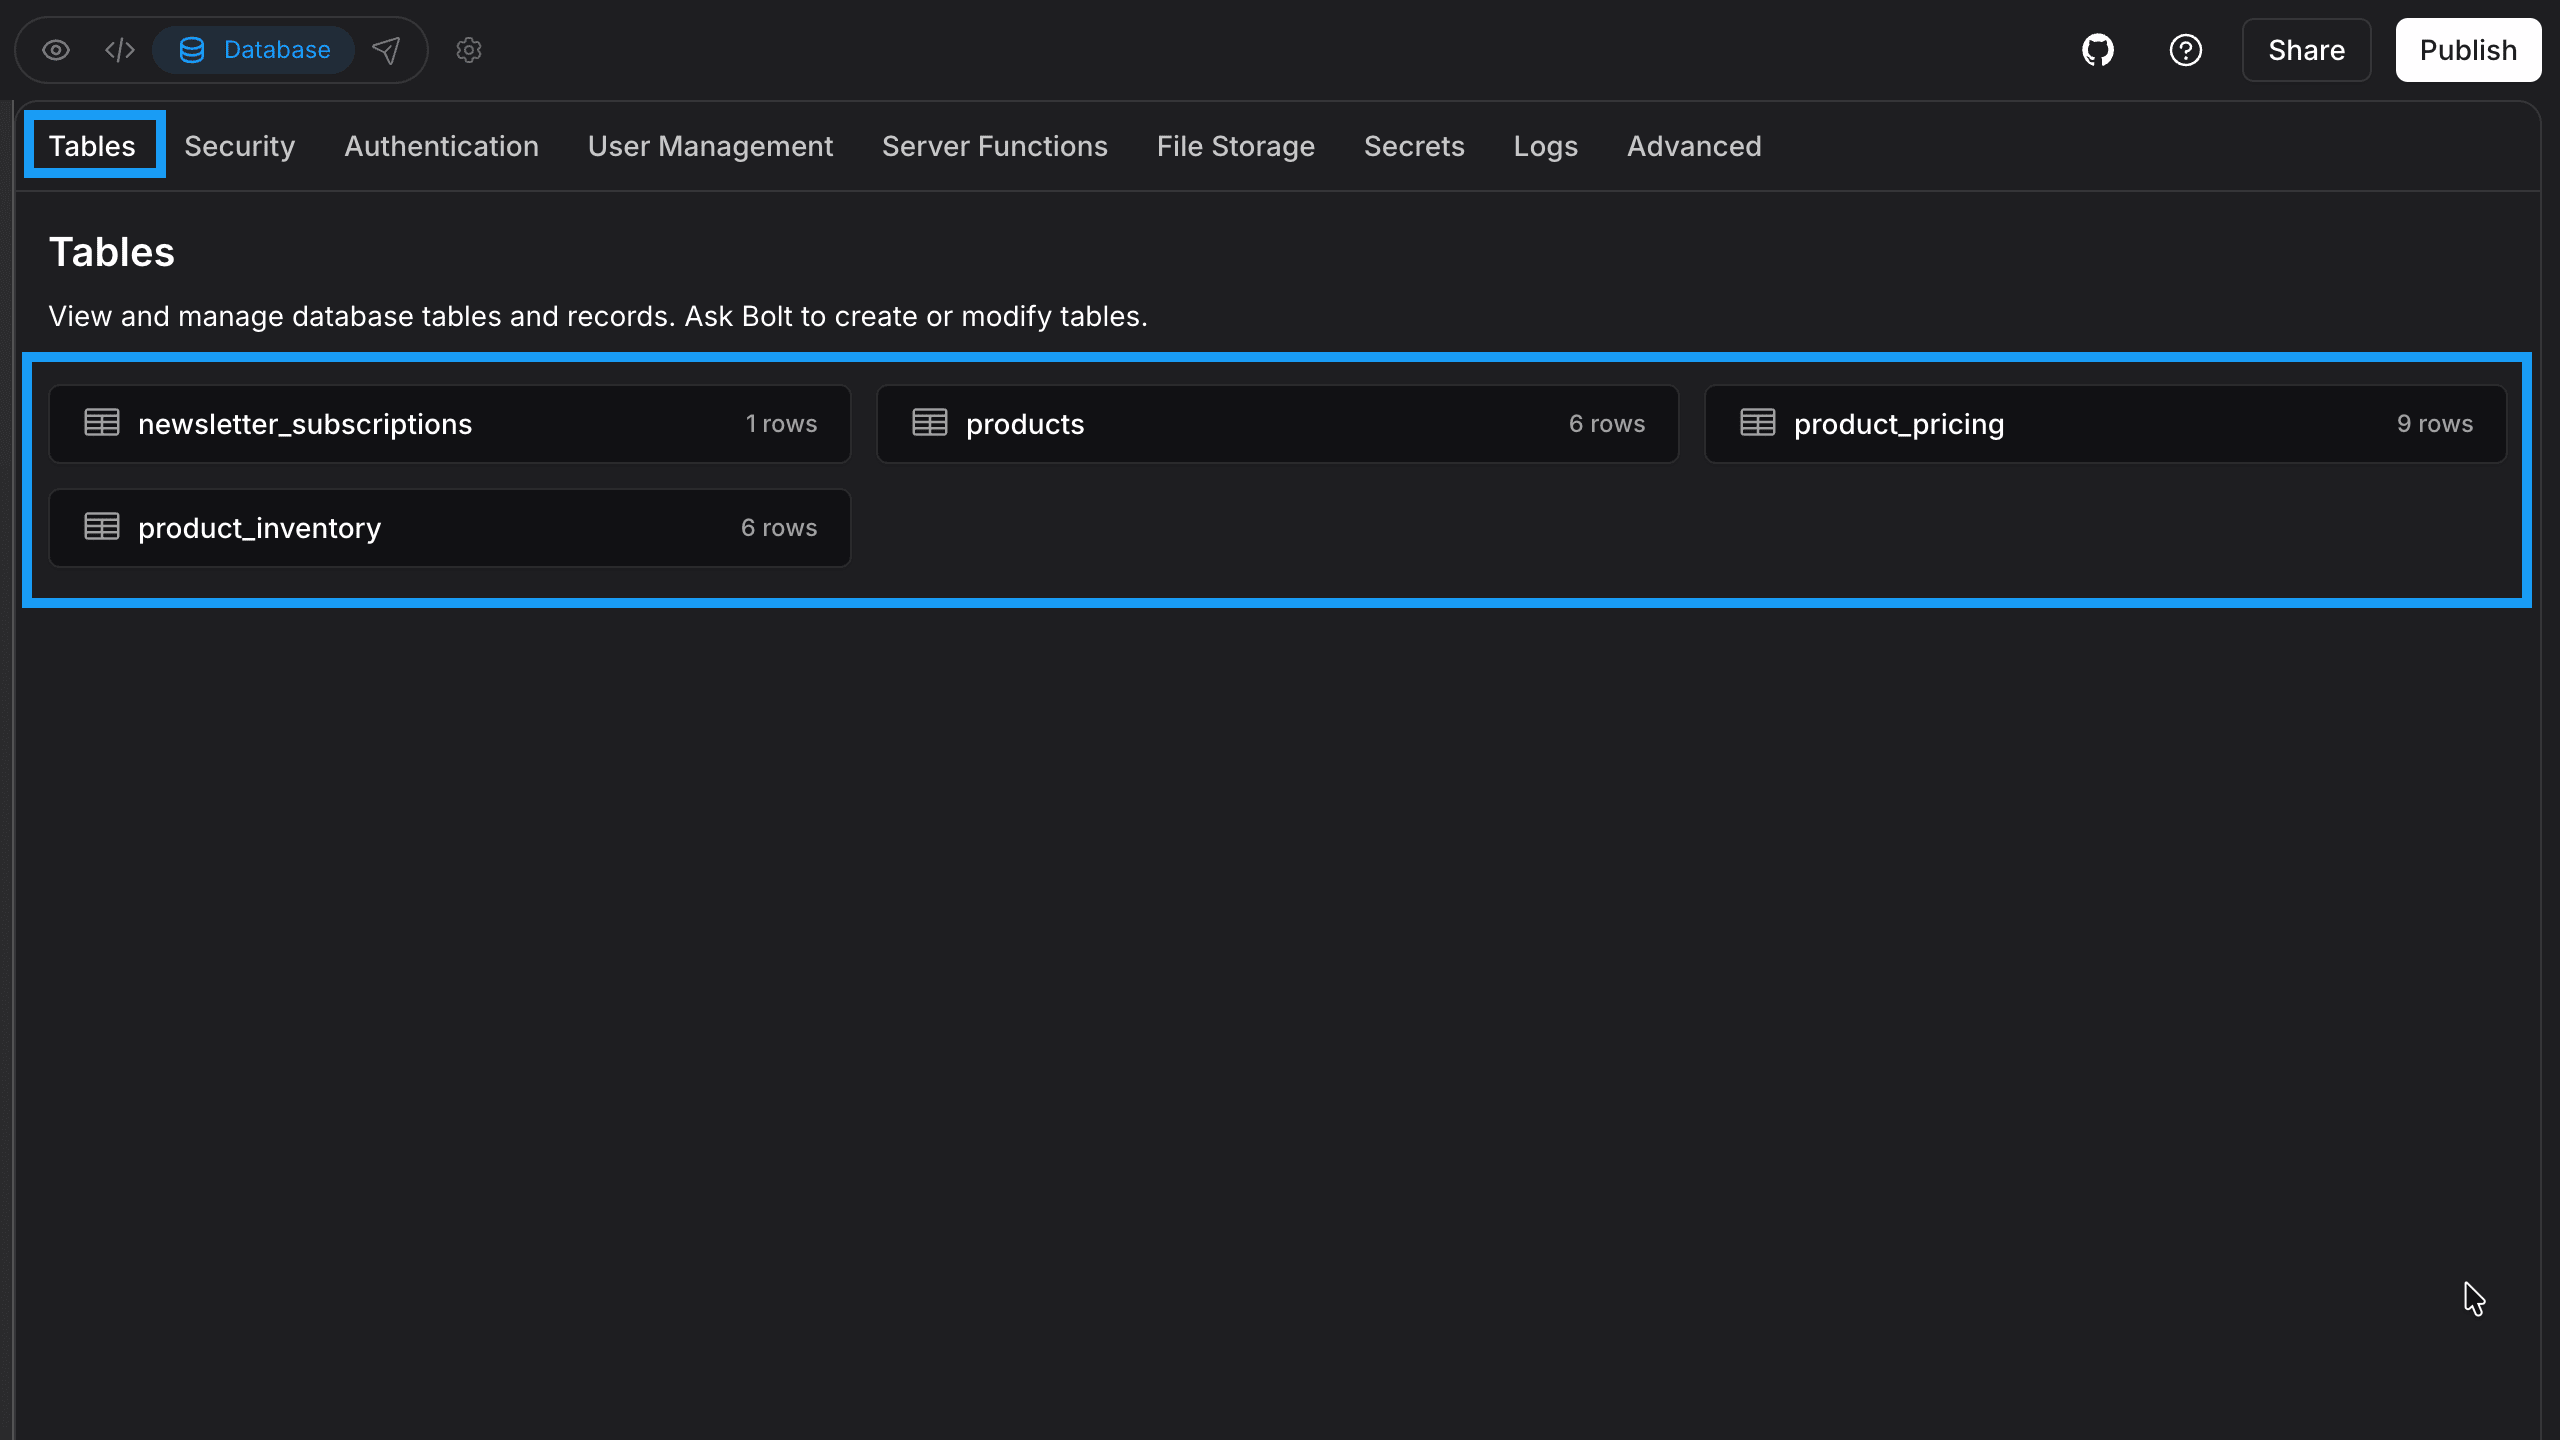
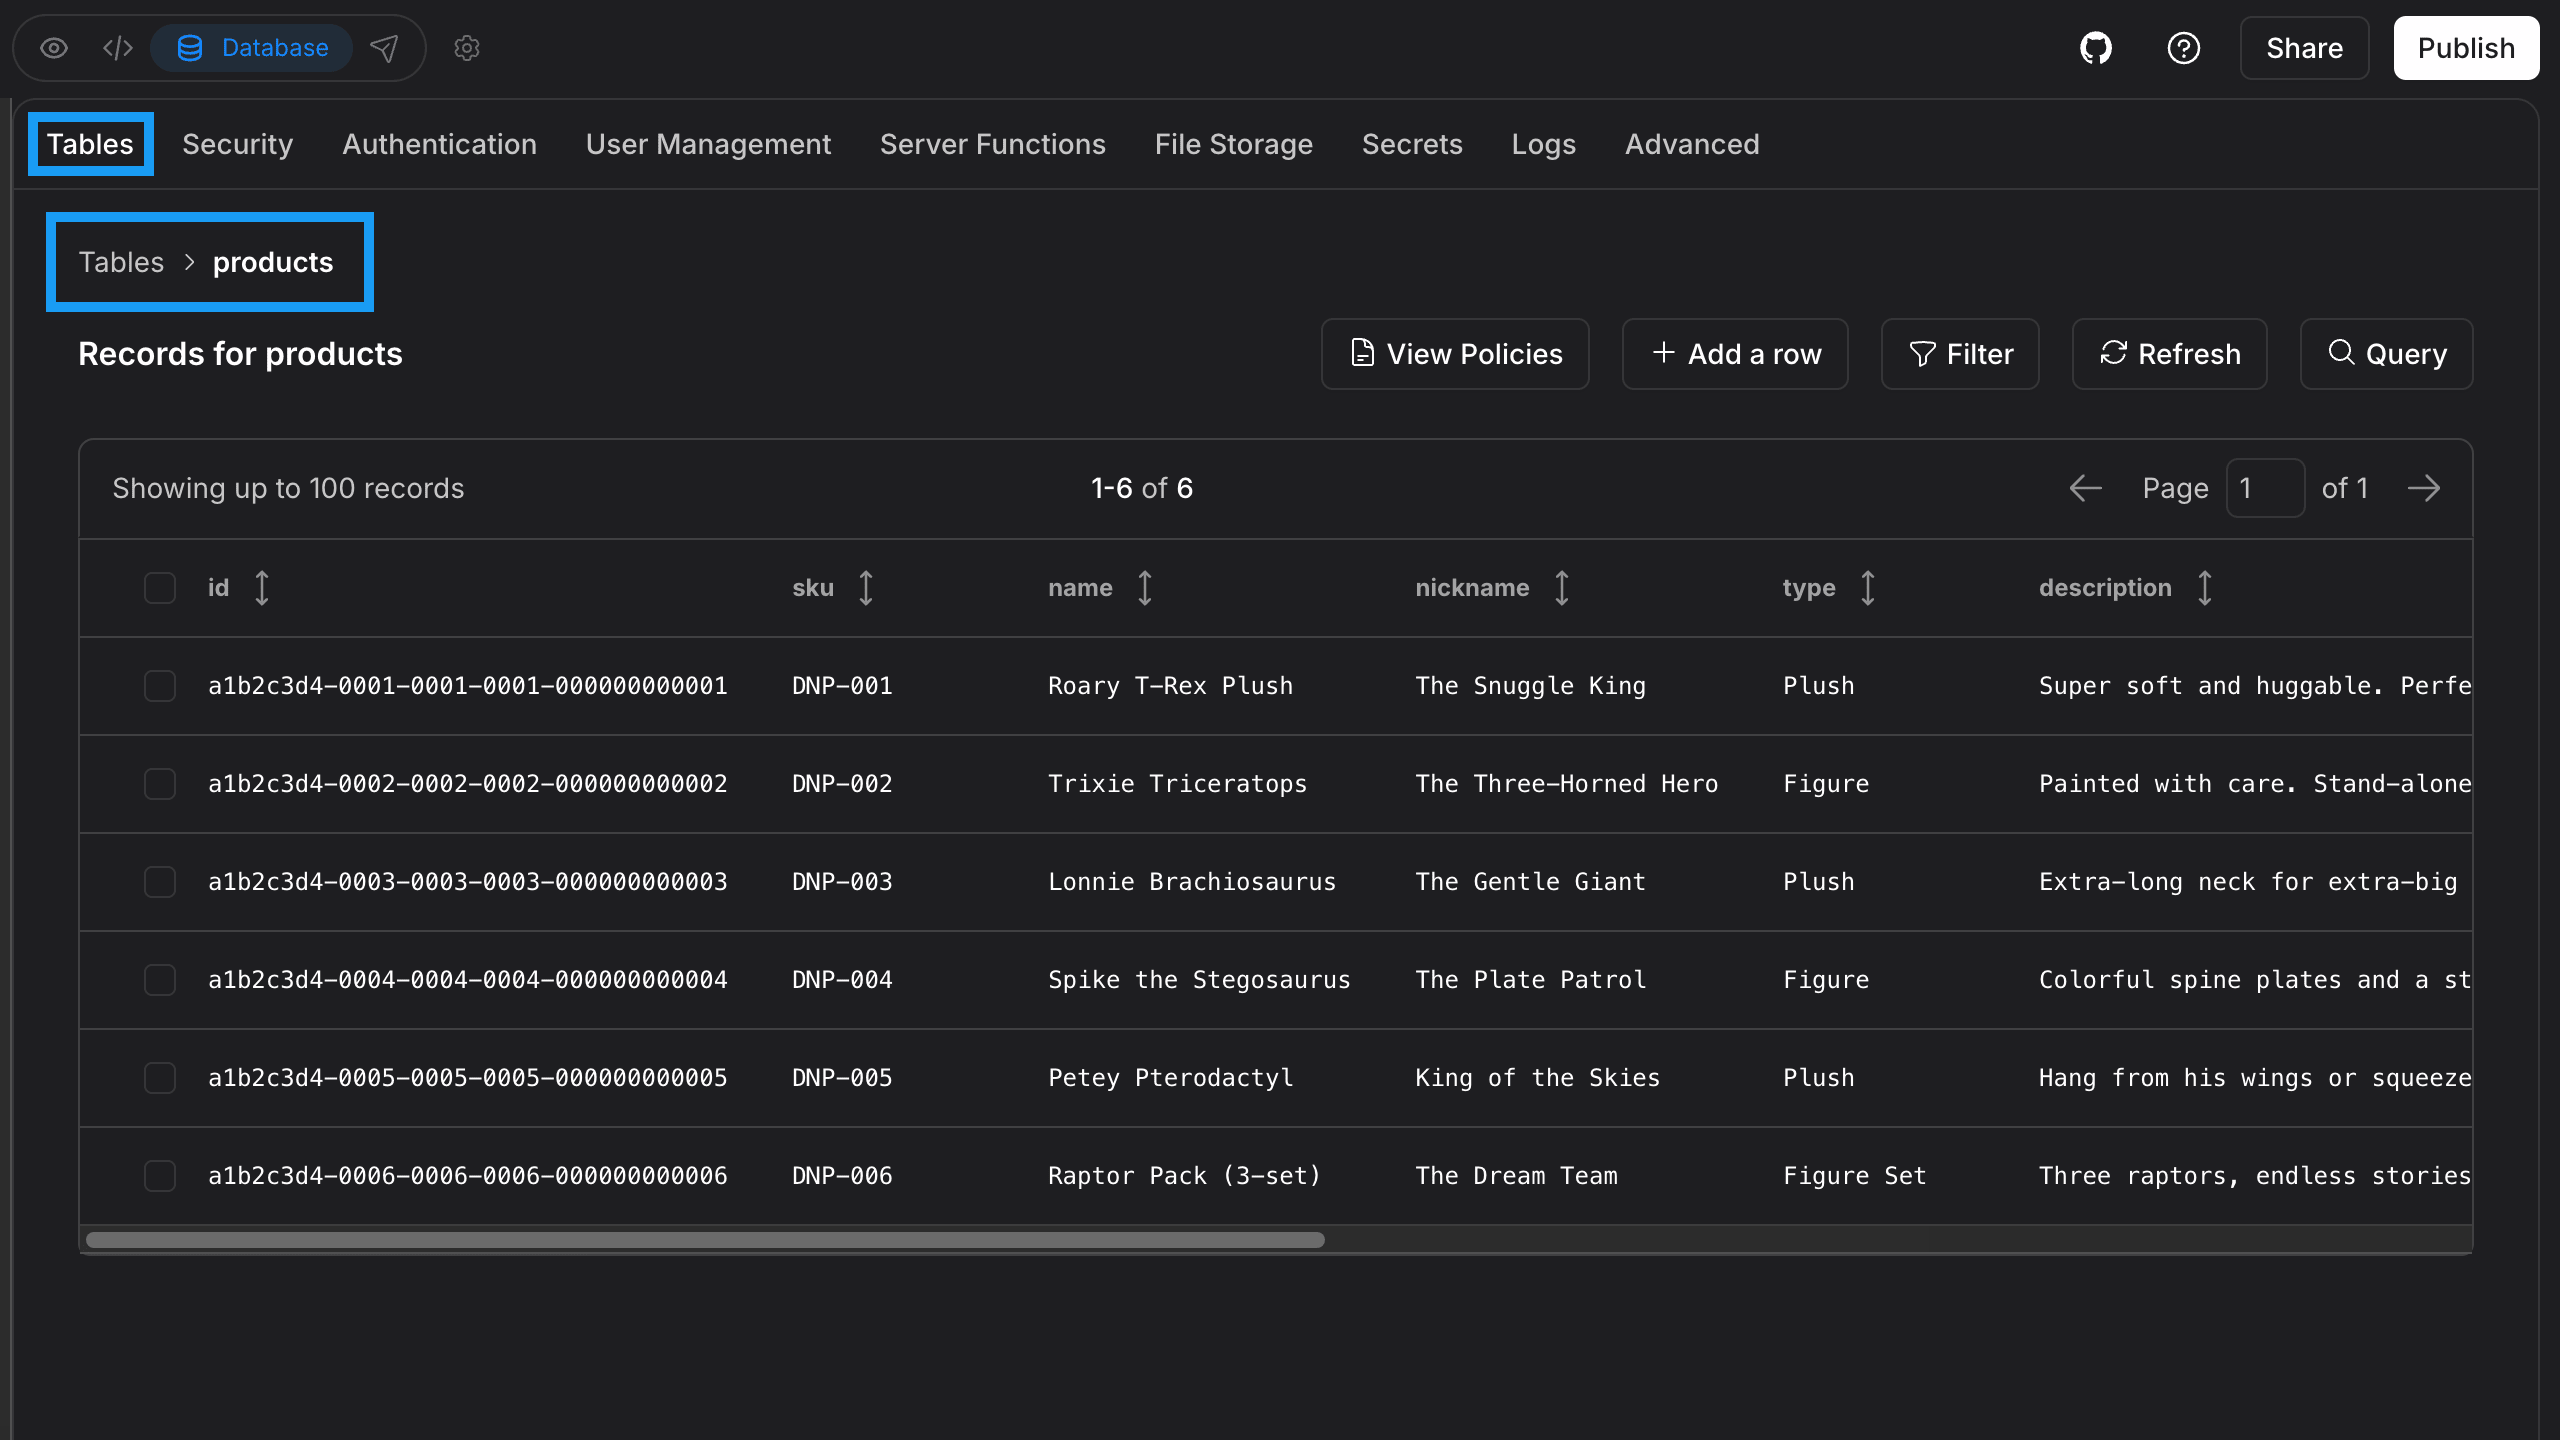
Table actions
After opening an individual table, you can perform several actions using the row of buttons above the table data: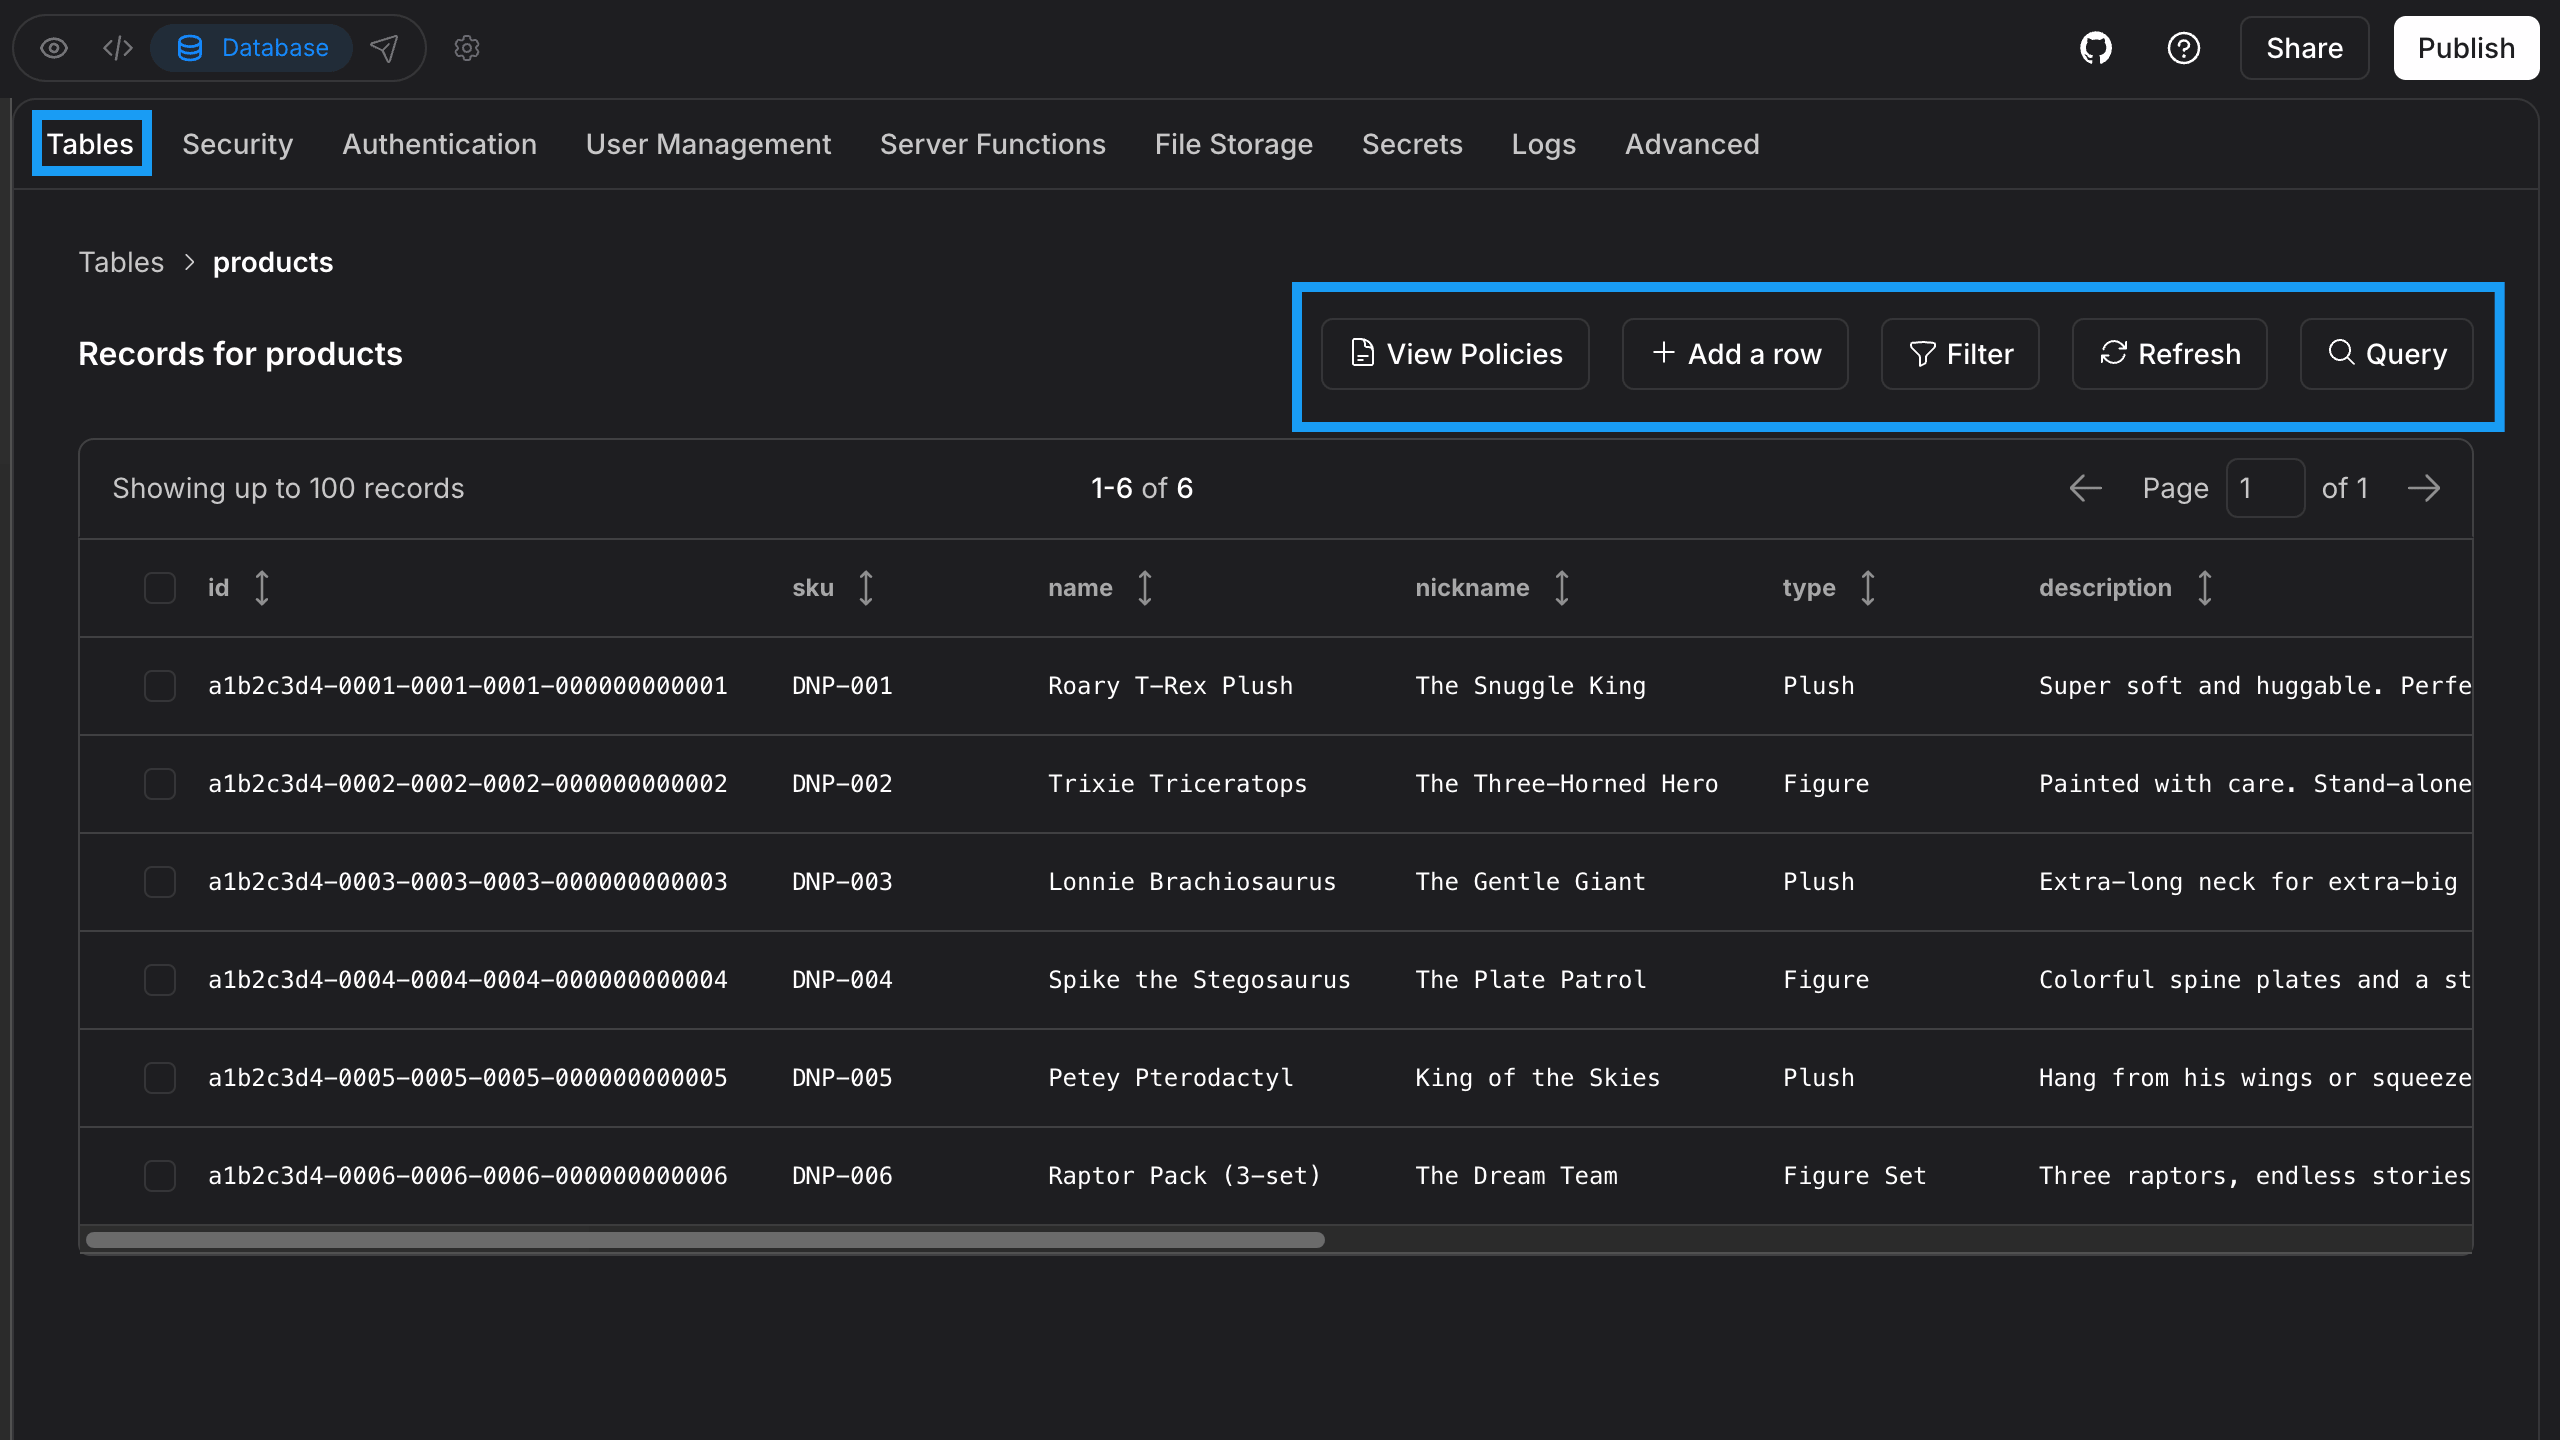
- View Policies – Review the row-level security (RLS) policies applied to the table. To make updates, ask Bolt for help or check the Security Audit tab for automatic fixes.
- Add a row – Manually create a new database entry by completing the form and clicking Save changes.
- Filter – Show only the rows that match conditions you set. See Filter table rows below.
- Refresh – Update the view to display any recent changes in the database.
- Query – Write and run SQL against the table. The editor opens with a starting query for the table, which you can change. Click Run Query to see the results. You can run any SQL statement here, including statements that change or delete data. Results show up to 100 rows at a time.
A primary key is a column that uniquely identifies each row. If a table doesn’t have one, you can’t add, edit, or delete its rows from the Tables page. Ask Bolt to add a primary key to the table, or make the change with Query instead.On team projects, your role may also limit who can add, edit, or delete rows. If you can’t make changes even though the table has a primary key, check your role in the project.
Filter table rows
To filter the rows in a table, follow these steps:- Click Filter.
- Choose a column. Each column shows its data type.
- Choose an operator.
- Enter a value.
- (Optional) Click Add filter to add another condition. You can add up to 10 filters, and a row must match all of them to show in the results.
- Click Apply filter.
Delete table data
Bolt gives you the option to manually delete rows from your database tables. To do so, follow the steps below:- Log in to your Bolt project.
- Click the database icon in the top center of your screen.
- Click the table you want to make changes to.
- Select one or more rows.
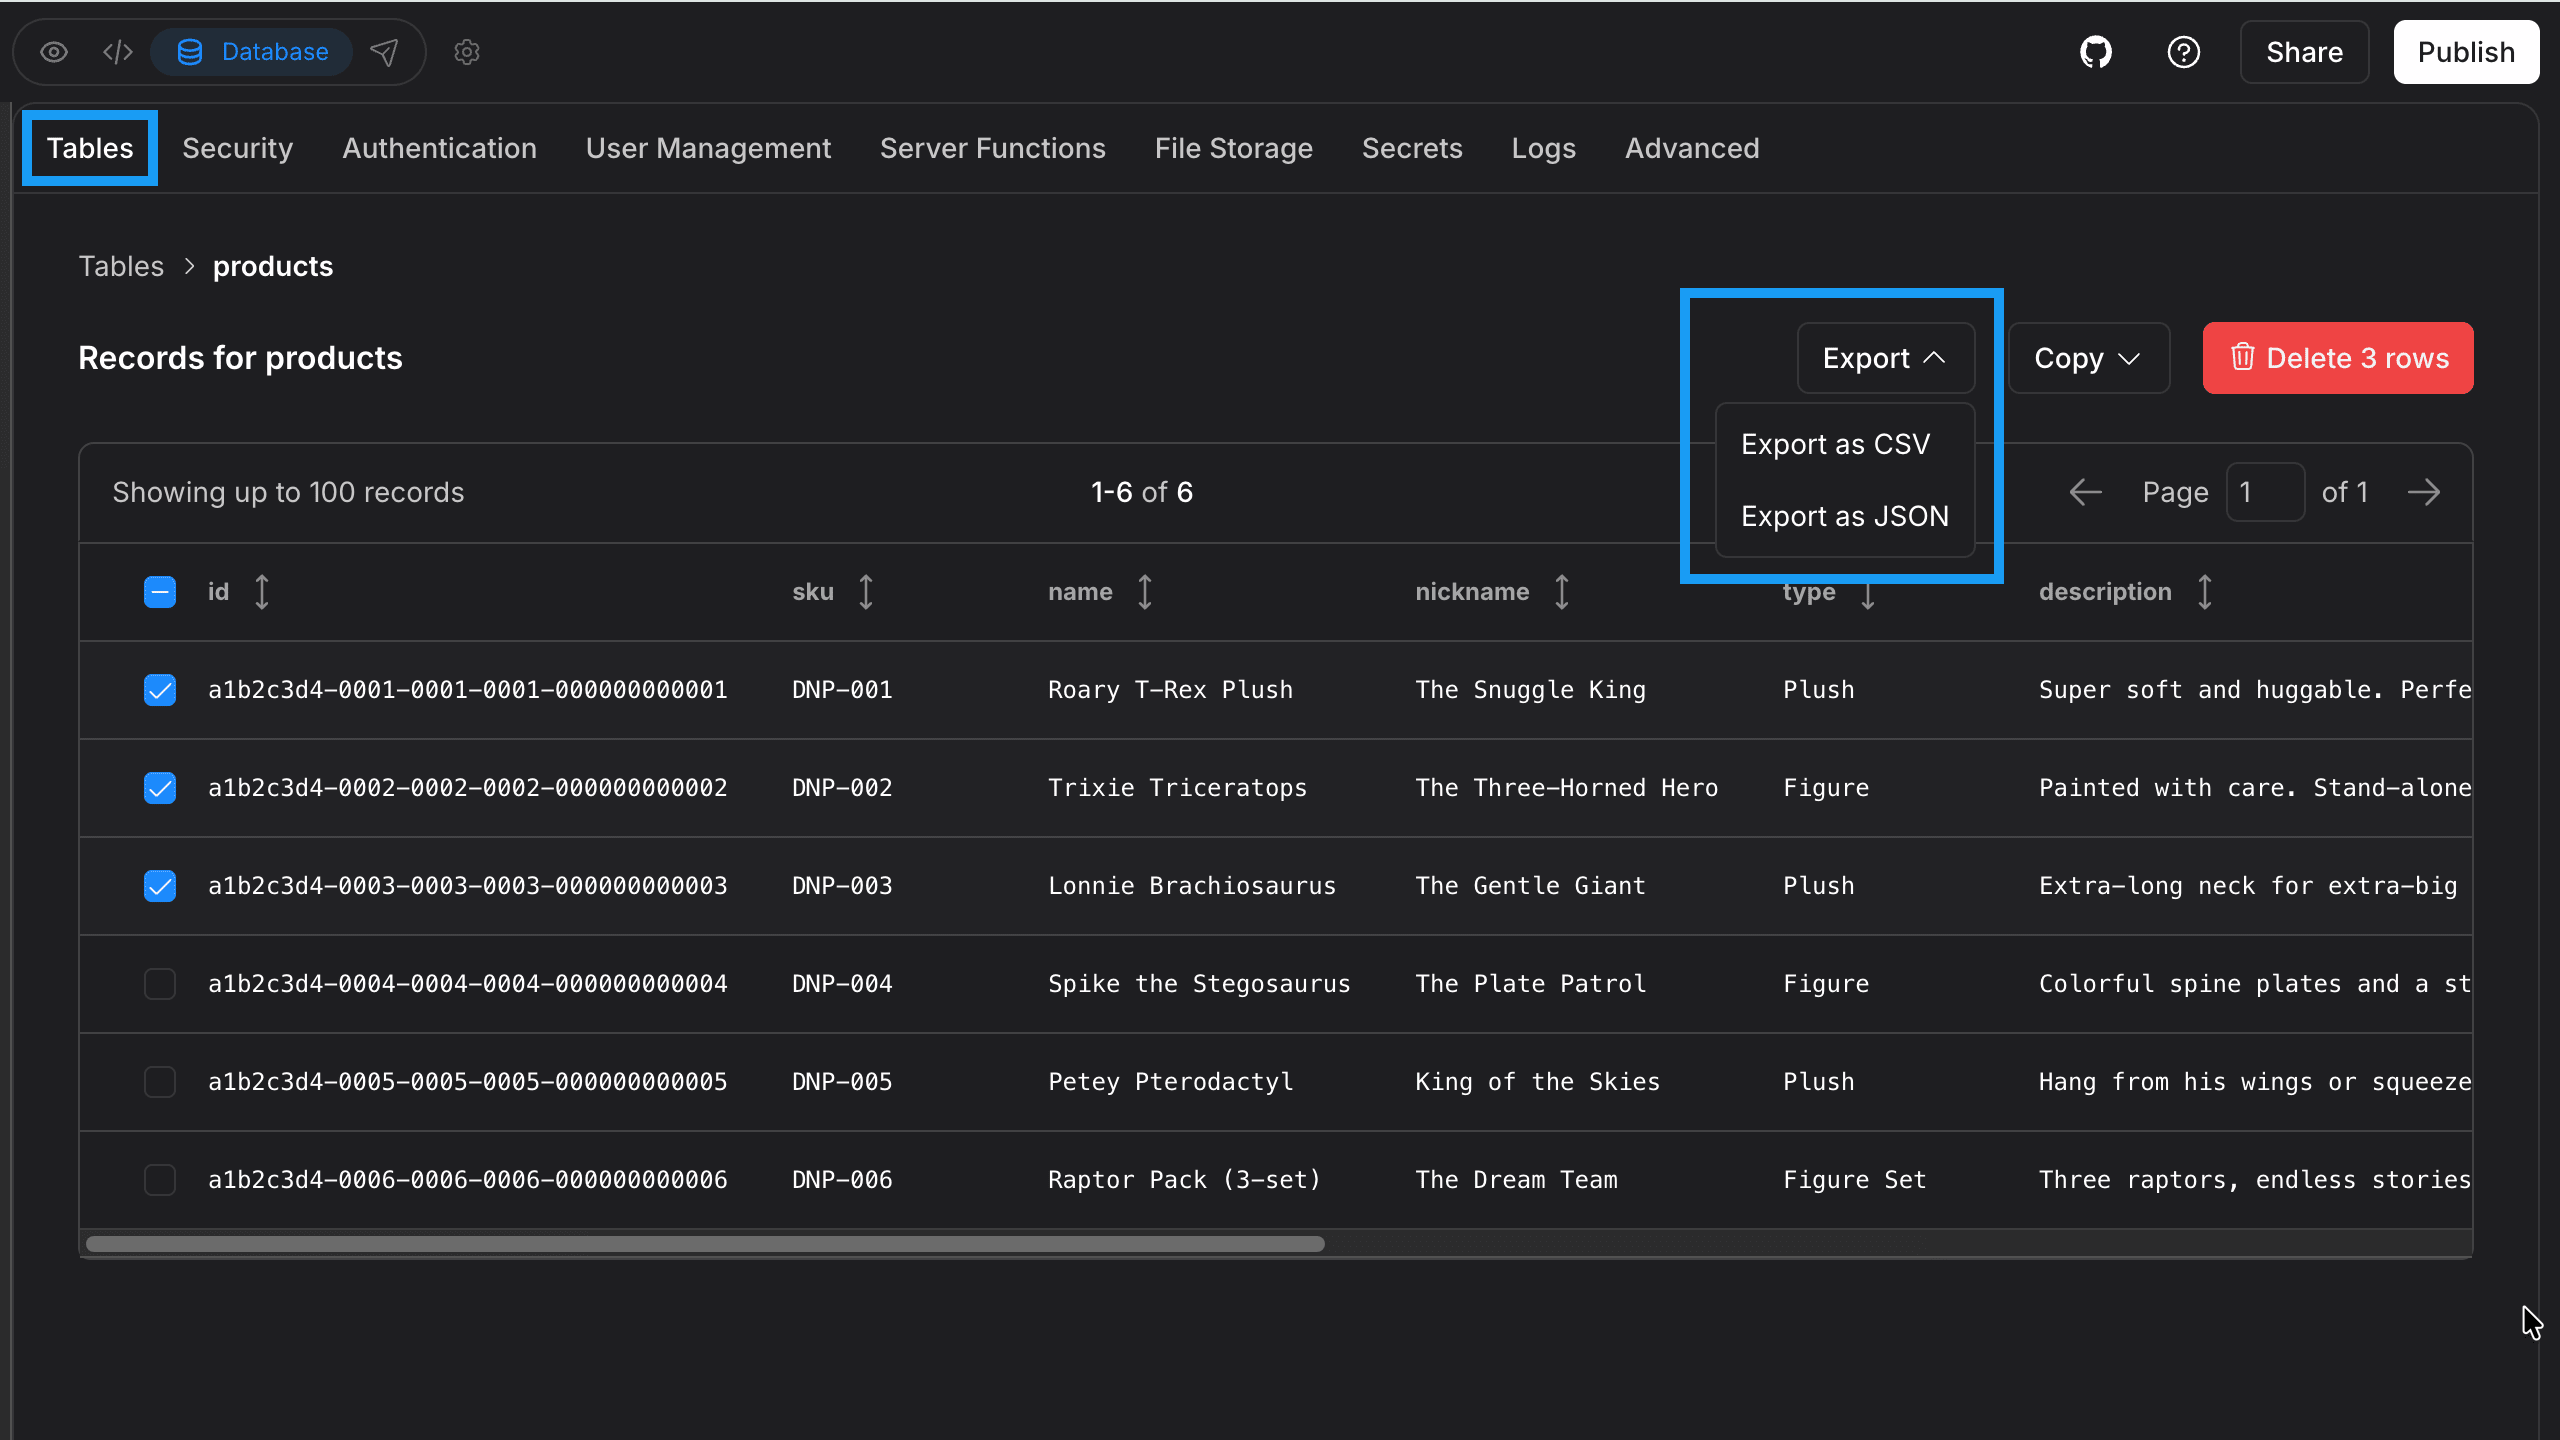
- Click the Delete button that appears above the top-right corner of the table.
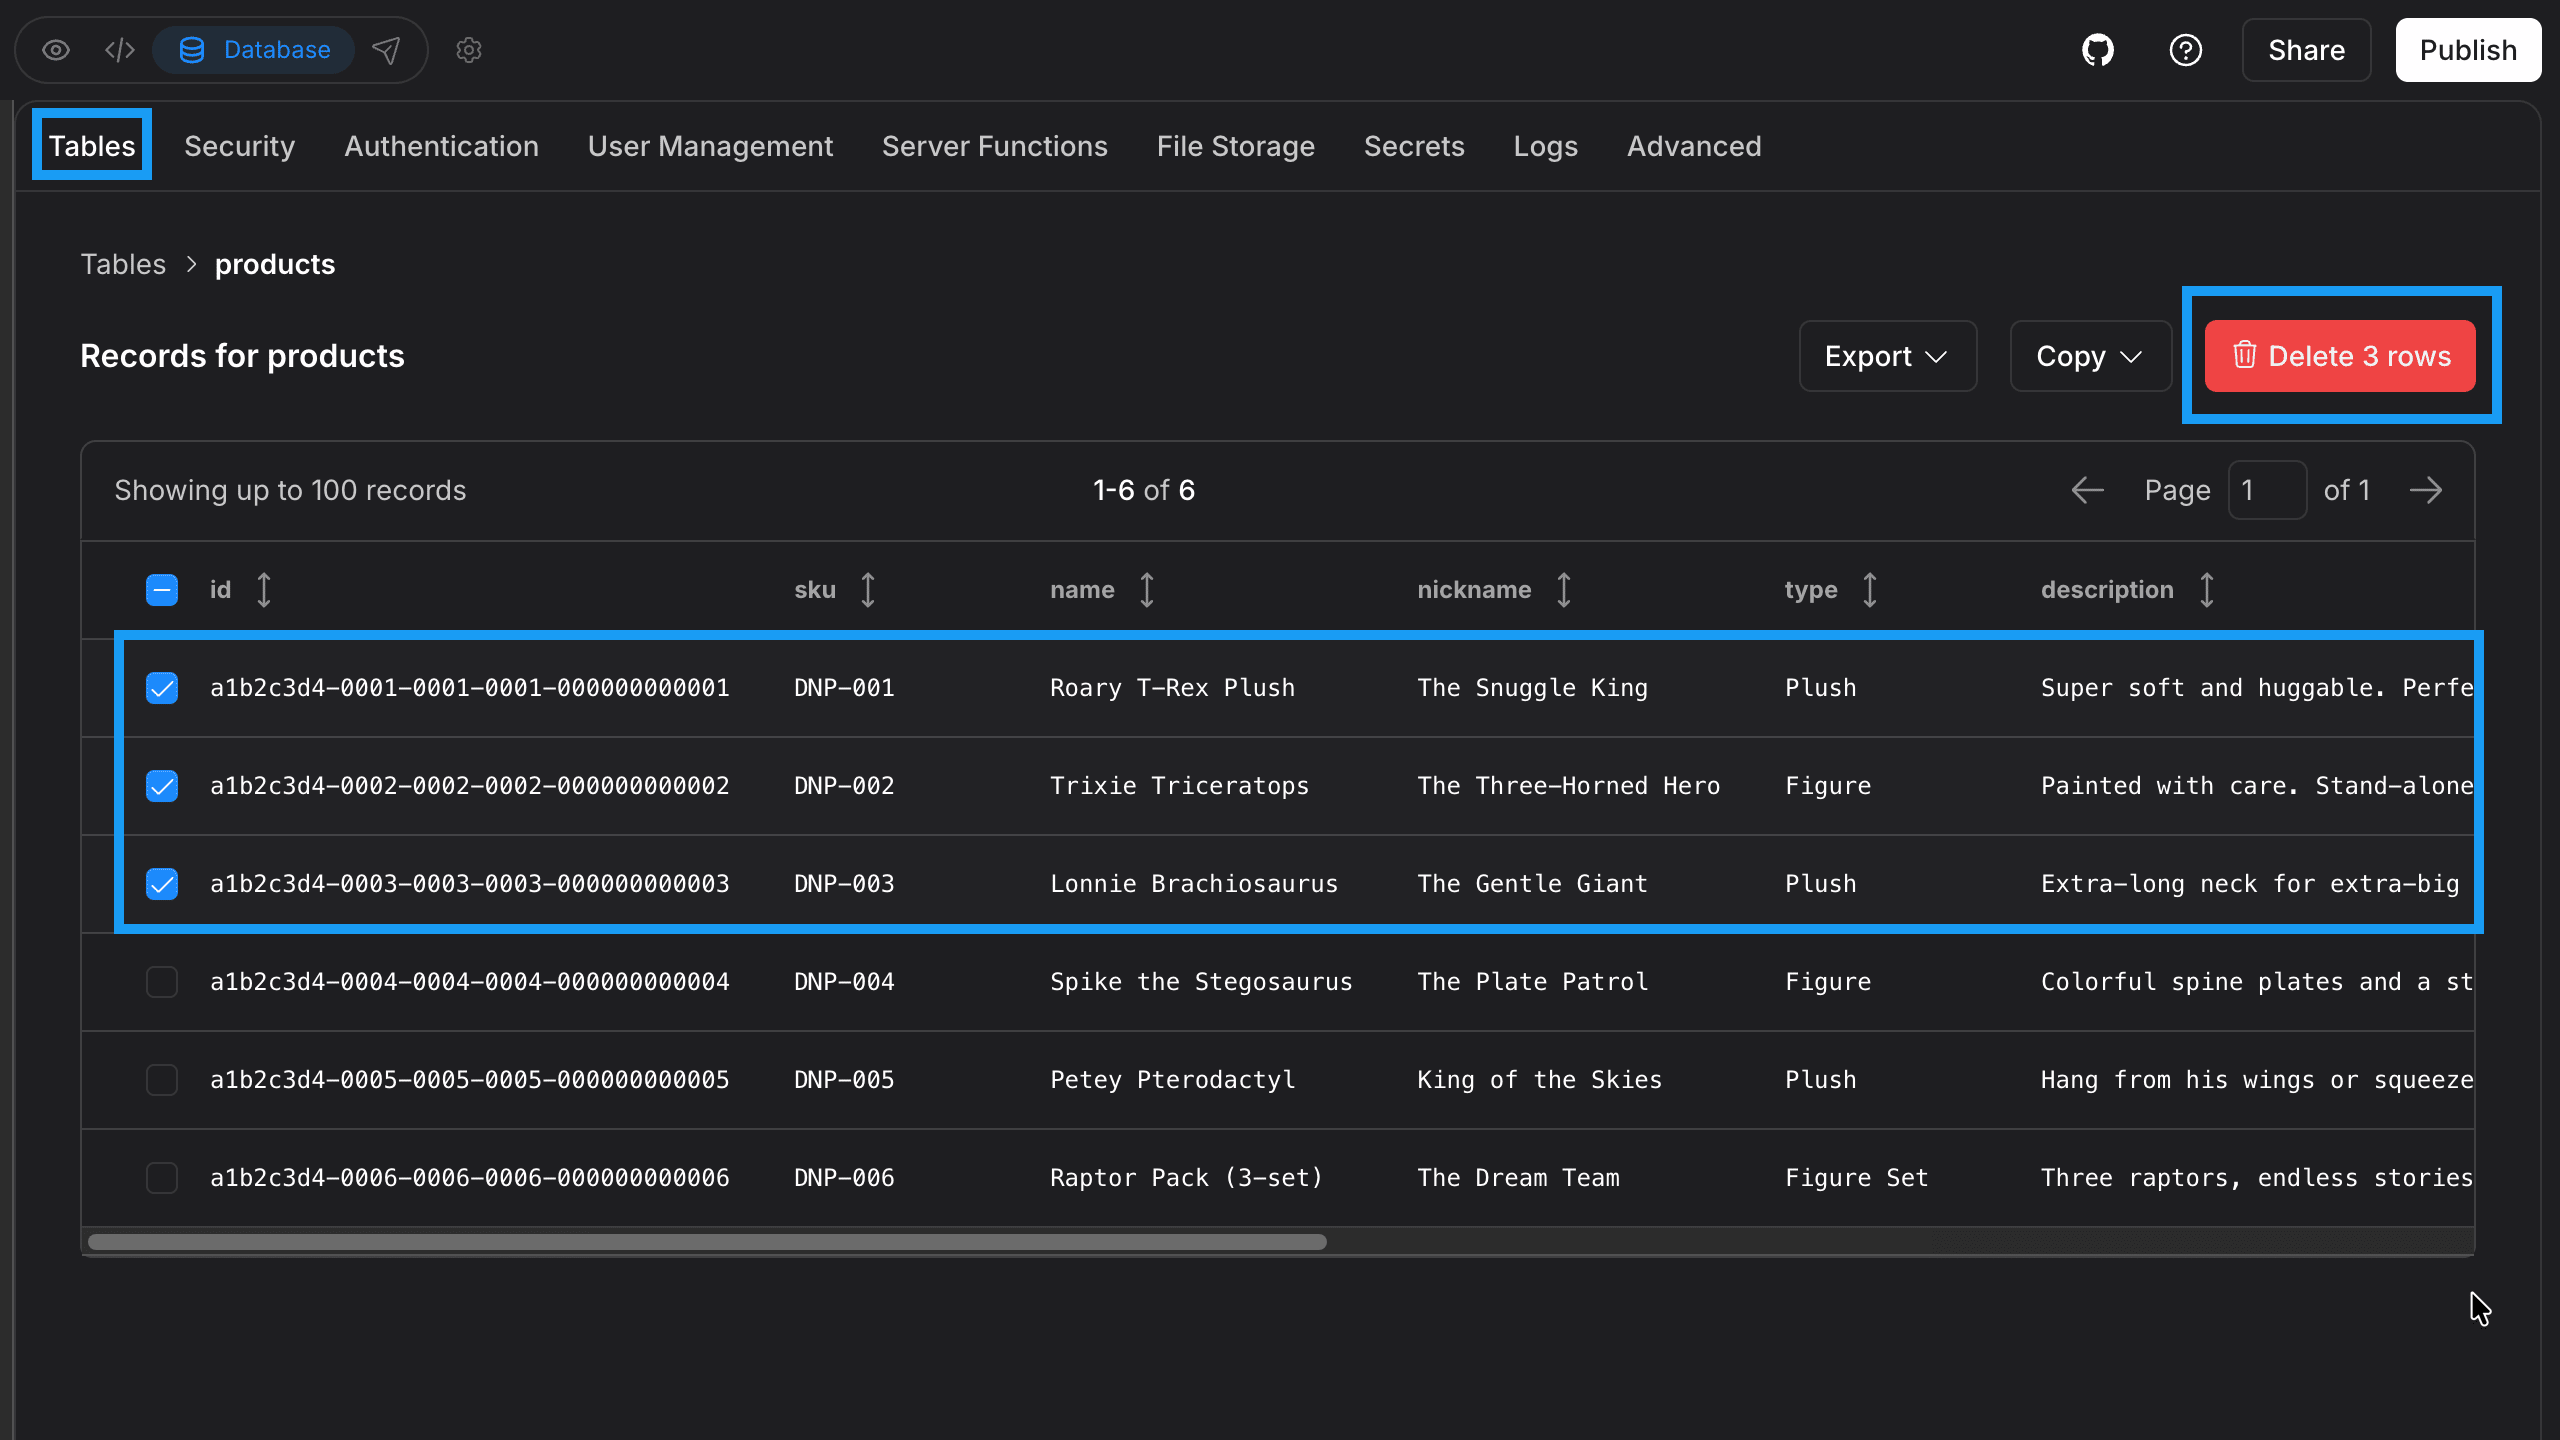
Export or copy table data
Bolt also gives you the option to manually export or copy row data from your database tables. You can do this in either CSV or JSON format. To export or copy your row data, follow the steps below:- Log in to your Bolt project.
- Click the database icon in the top center of your screen.
- Click the table you want to make changes to.
- Select one or more rows.
- Click either the Export or Copy button that appears above the top-right corner of the table.
- Select CSV or JSON format.